For the last few years, my storage architecture has heavily relied on an Asustor LOCKERSTOR 2 Gen2 (AS6702T). It is a fantastic machine, but its role in my environment has been strictly limited to serving as a dedicated backup repository. As my VMware cluster expanded and my 10GbE/25GbE network fabric matured, I needed something much more capable. Relying solely on vSAN was no longer enough; I wanted to introduce dedicated iSCSI datastores to house high-capacity virtual machines without eating into my premium compute storage.
My requirements for the new primary storage node were strict: it had to be a rack-mountable appliance (ideally short-depth), and it absolutely required native SFP+ networking to integrate with my existing topology.
The First Attempt: QNAP TS-435XeU-4G
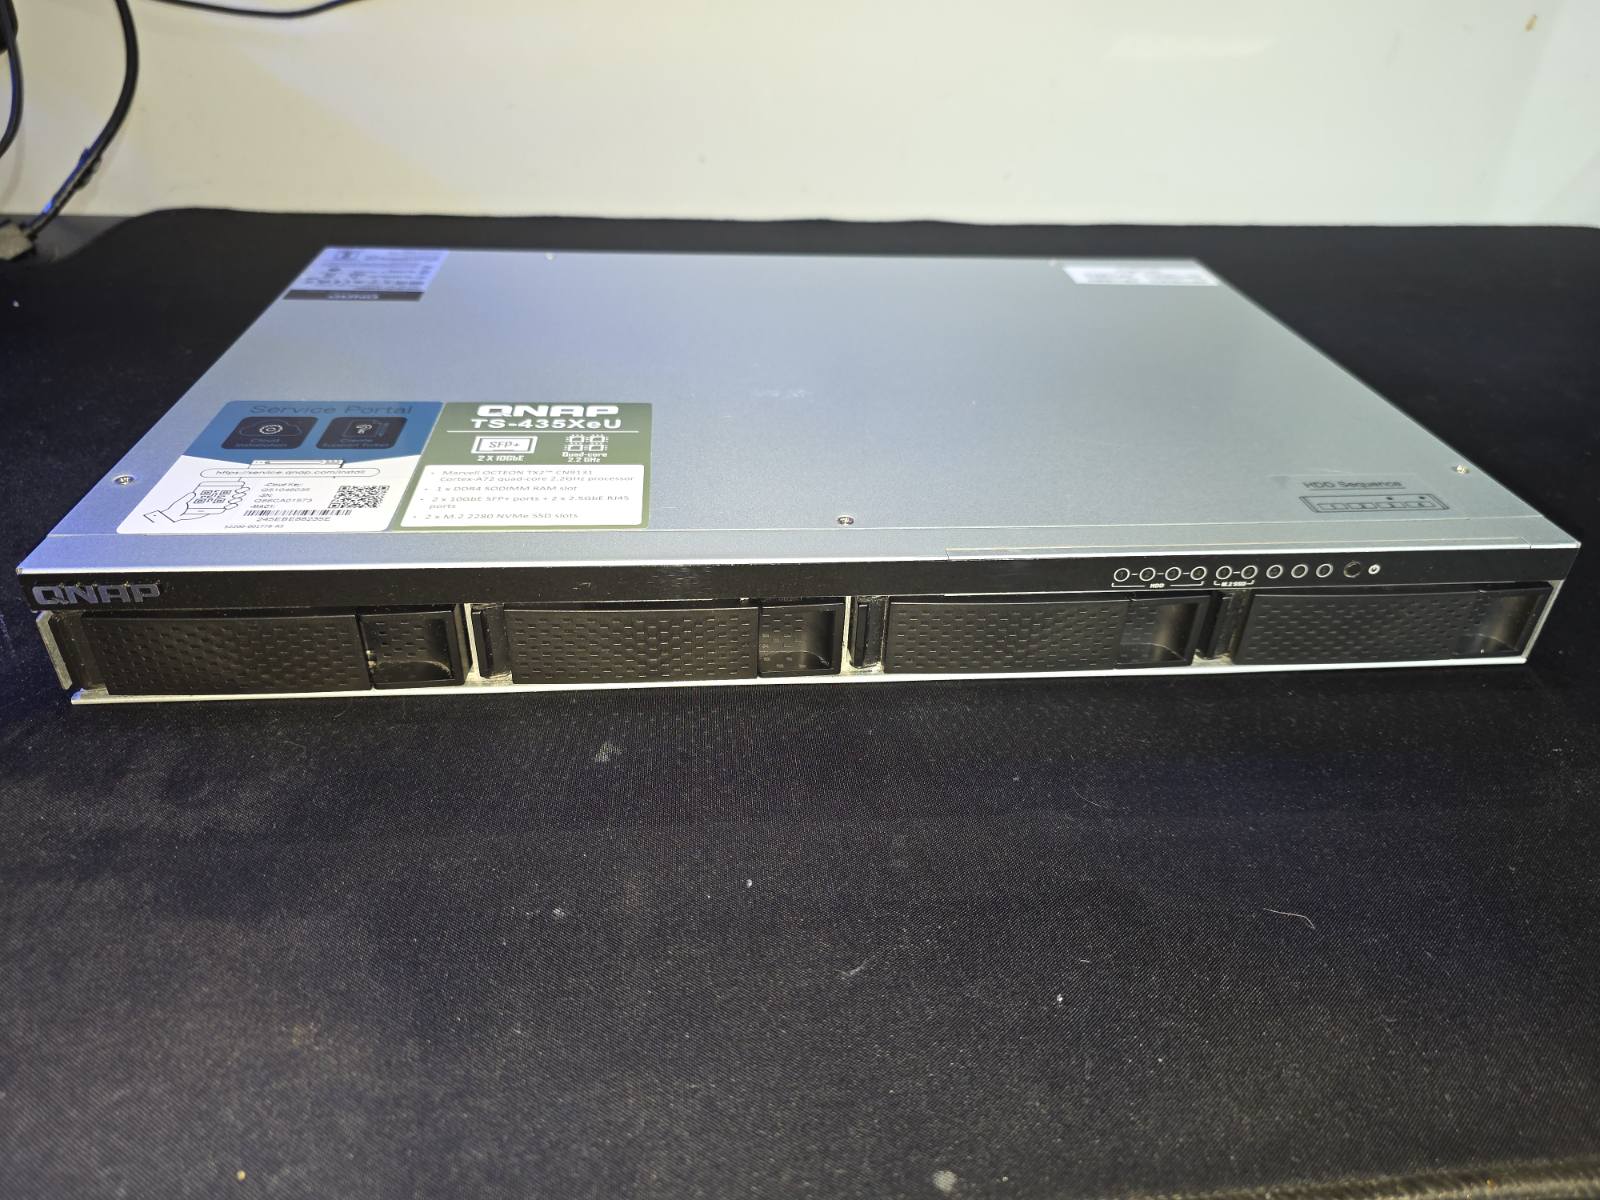
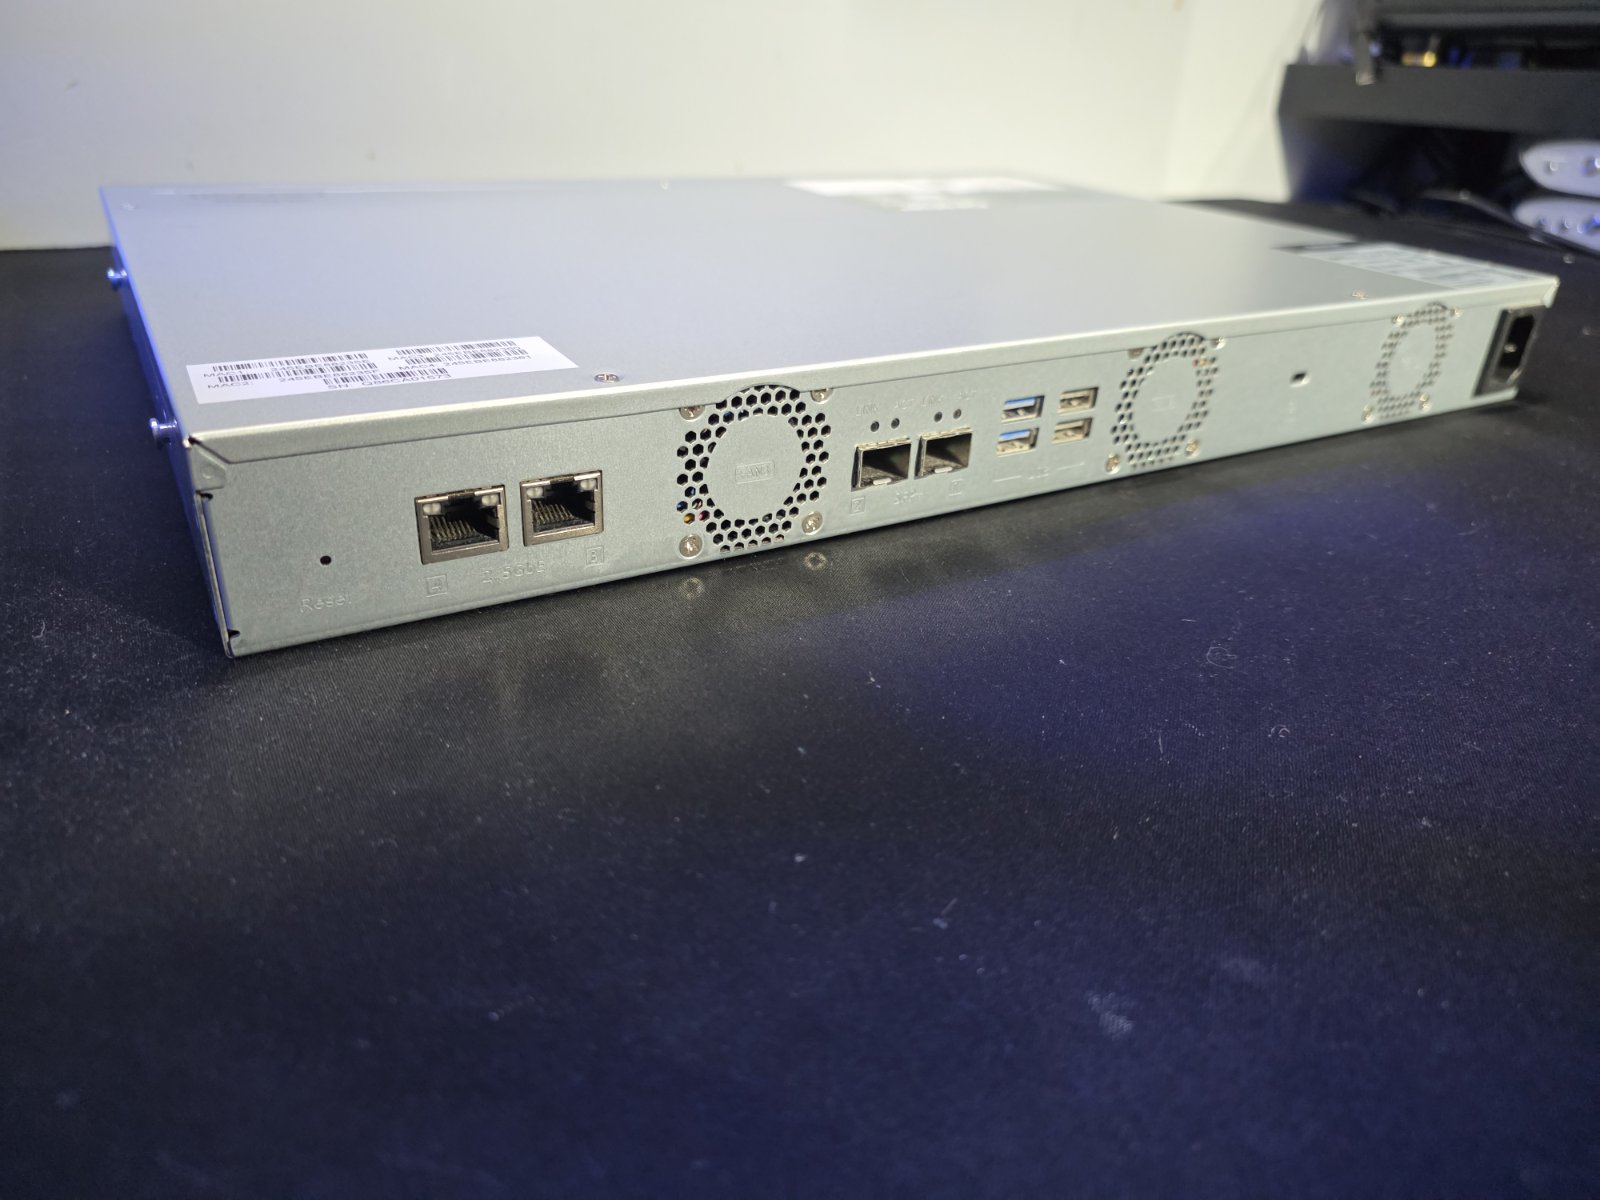
The initial choice seemed obvious. I picked up the QNAP TS-435XeU-4G, a sleek, 1U four-bay NAS that checked the physical boxes.
To populate it, I invested heavily in four 16TB Seagate IronWolf Pro drives. For a homelab rack environment, these drives are practically mandatory. They utilize Conventional Magnetic Recording (CMR) for consistent write performance, boast a massive workload rate limit, and feature built-in Rotational Vibration (RV) sensors. When you pack multiple drives tightly into a 1U chassis, mitigating chassis vibration is critical to maintaining high IOPS and drive longevity.
To accelerate the array, I added two 2TB WD Red SN700 NVMe drives configured as cache. On paper, it was a solid, enterprise-adjacent storage tier. In practice, it turned out to be a massive bottleneck.
The Harsh Reality of Hardware Limitations
The problems surfaced the moment I started putting the array under sustained loads. The TS-435XeU features a relatively weak ARM processor that immediately proved it couldn’t handle the mathematical overhead of calculating RAID 5 parity at 10GbE speeds. During large file transfers or heavy VM I/O, the CPU utilization would relentlessly peg at 90% to 99%. The entire system would choke, and throughput would plummet.
Even worse, the highly anticipated NVMe cache completely failed to save the day. I could not break the 10GbE throughput barrier, and whatever speed I did achieve dropped off a cliff the moment the cache saturated. After diving into the hardware topology, I discovered a critical design compromise: the manufacturer wired each M.2 slot to only a single PCIe lane. The physical interface itself was choking the WD Red NVMe drives, rendering their high-end specs useless.
Before pulling the plug on the unit, I spent days benchmarking different arrays to definitively isolate the hardware ceilings.
QNAP TS-435XeU-4G Performance Matrix (My Internal Tests)
| Configuration | Usable Capacity | Sequential Read | Sequential Write | CPU Load (During Write) |
| RAID 5 (4x 16TB) + NVMe Cache | ~43.6 TB | ~750 MB/s | ~320 MB/s (Bottleneck) | 90-99% |
| RAID 10 (4x 16TB) + NVMe Cache | ~29.1 TB | ~850 MB/s | ~600 MB/s | 50-60% |
Note: Even when switching to RAID 10 to offload parity calculations from the weak CPU, the single PCIe lane per M.2 slot prevented the system from sustaining true 10GbE saturation.
The Ultimate Upgrade: QNAP TS-855eU
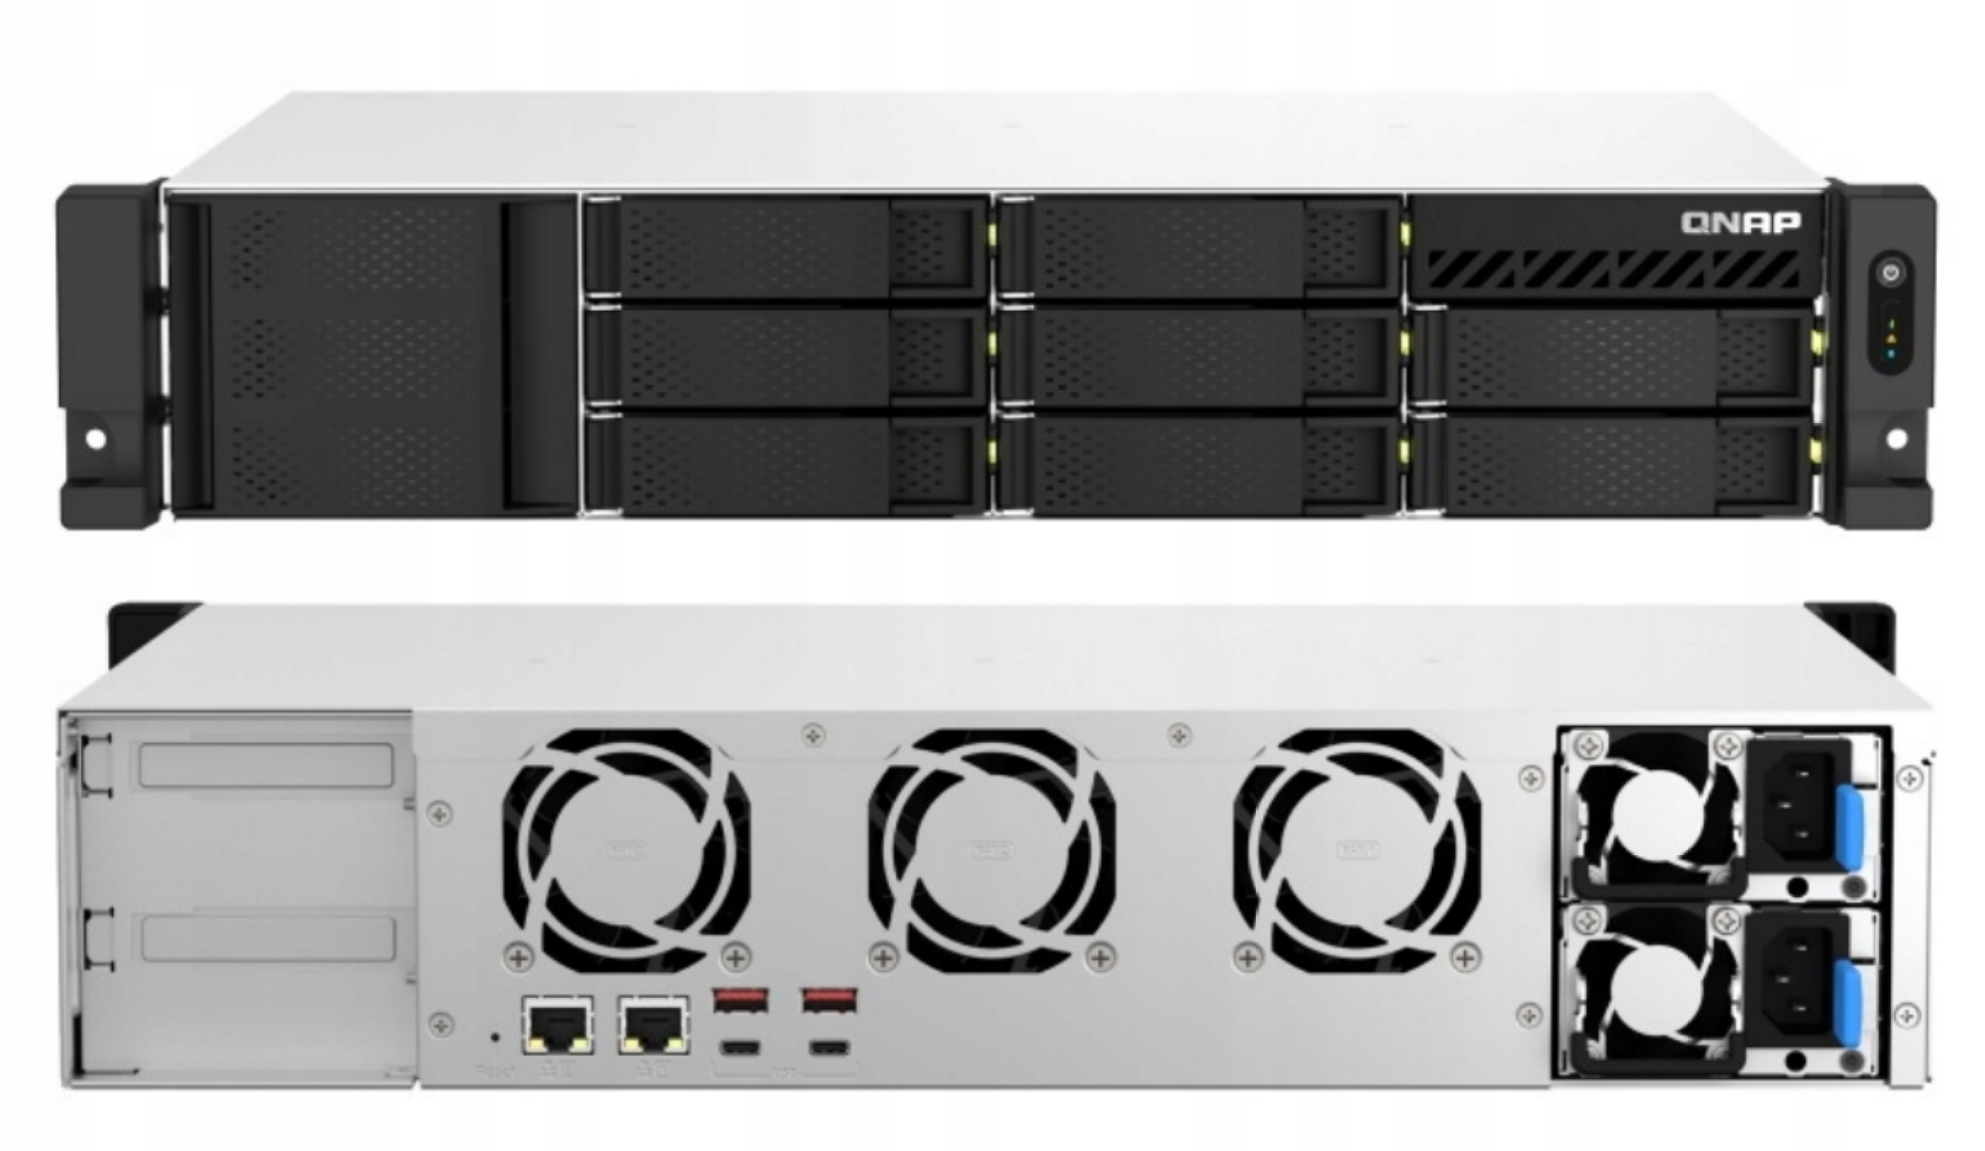
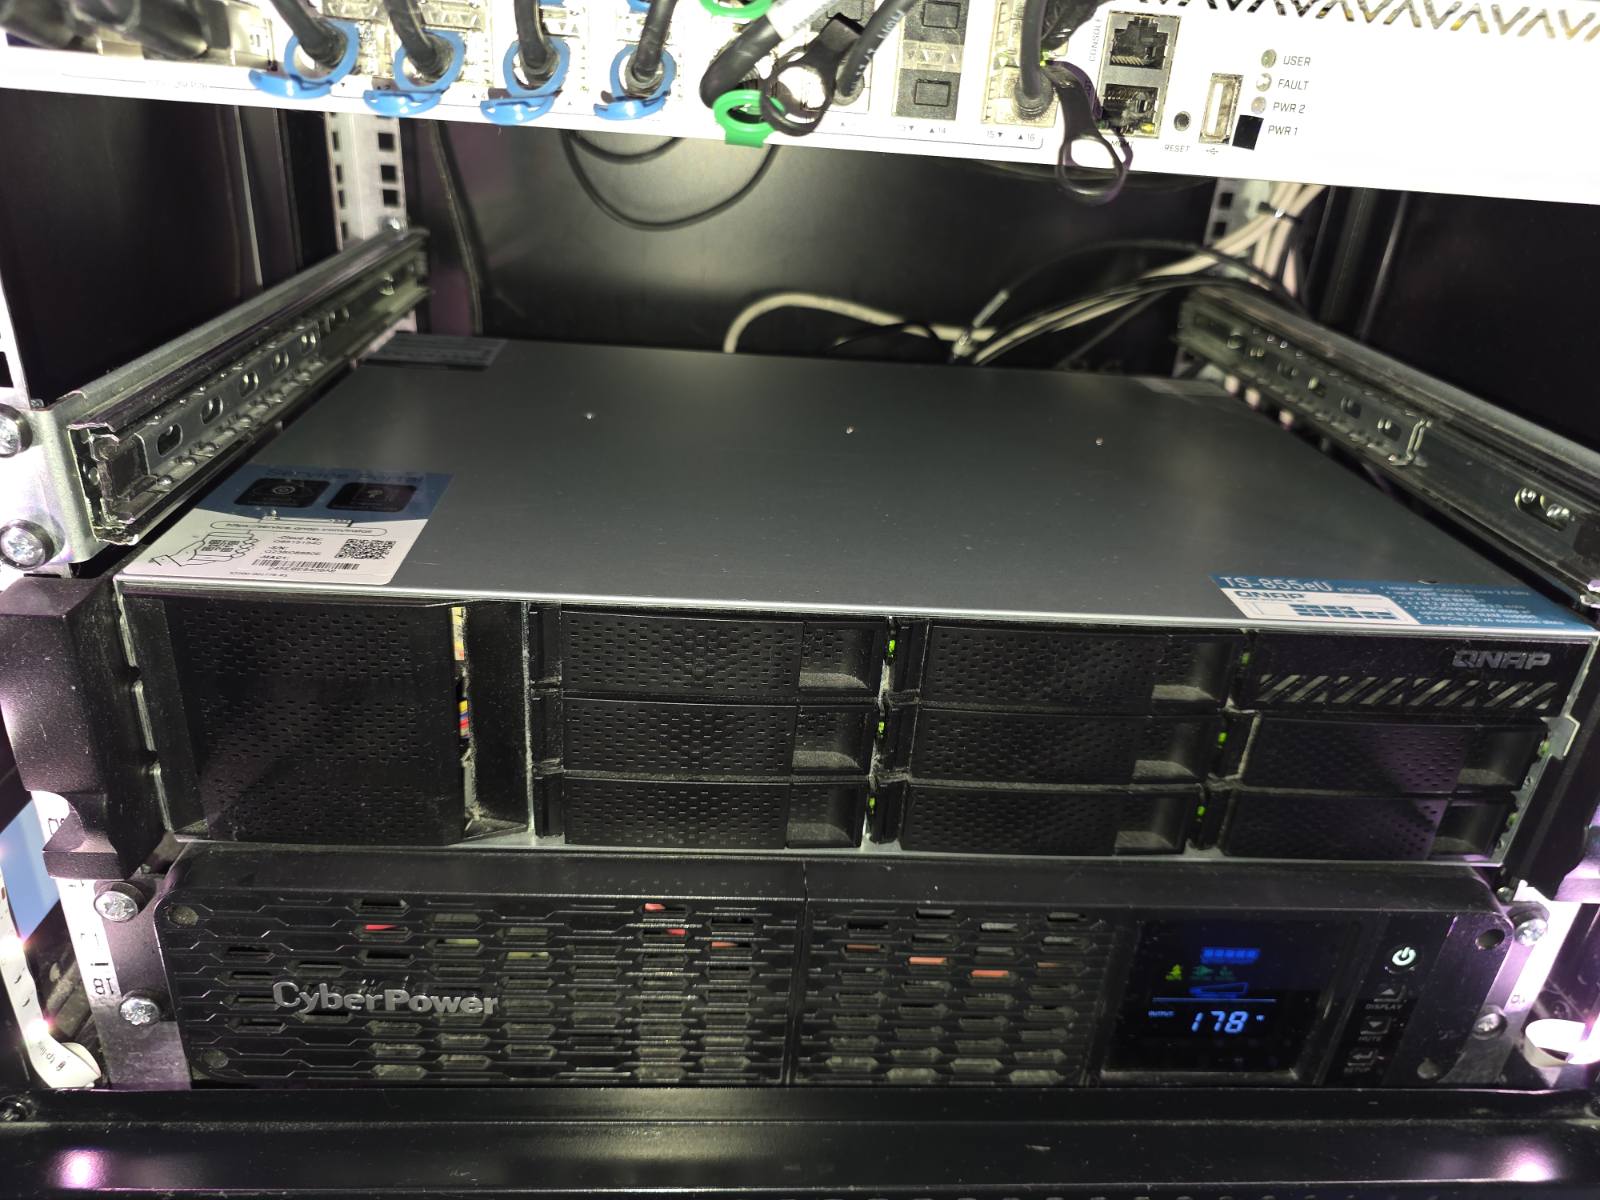
The tests made one thing clear: if I wanted high capacity and maximum performance, a 4-bay chassis with an entry-level CPU wouldn’t cut it. I needed eight bays and serious processing power. I replaced the unit with the QNAP TS-855eU.
This NAS changed the rules of the game entirely. Equipped with an 8-core Intel Atom processor and running the ZFS-based QuTS hero operating system, the agonizing days of slow RAID rebuilds and CPU throttling were over.
I populated the 8 bays with the 16TB IronWolf Pros and migrated the two 2TB WD Red SN700 drives. Thanks to QuTS hero, I abandoned traditional arrays and built an advanced storage pool utilizing a RAID 50 configuration across the spinning disks, supplemented by an ultra-fast NVMe cache tier. This provided the perfect balance: massive sequential throughput, excellent redundancy, and rapid I/O acceleration for VM workloads.
| Configuration | Usable Capacity | Sequential Read | Sequential Write | CPU Load (During Write) |
| RAID 50 (8x 16TB) + NVMe Tier (RAID 1) | ~87.3 TB | ~1180 MB/s (10GbE Saturation) | ~1120 MB/s (10GbE Saturation) | 15-25% |
| RAID 6 (8x 16TB) + NVMe Tier (RAID 1) | ~87.3 TB | ~1150 MB/s | ~950 MB/s | 25-35% |
Because ZFS is notoriously memory-hungry, I took advantage of current market prices and scored a 64GB DDR4 ECC SODIMM kit relatively cheaply. ZFS relies heavily on RAM for its ARC (Adaptive Replacement Cache), and having 64GB of Error-Correcting memory ensures rock-solid stability and blistering performance for VMware.
Seamless VMware Integration
The TS-855eU is „VMware Ready,” which makes a world of difference when managing storage via vSphere. Thanks to VAAI (vStorage APIs for Array Integration), the ESXi hosts can offload heavy storage operations—like cloning or zeroing virtual disks—directly to the NAS hardware, saving massive amounts of compute and network overhead.
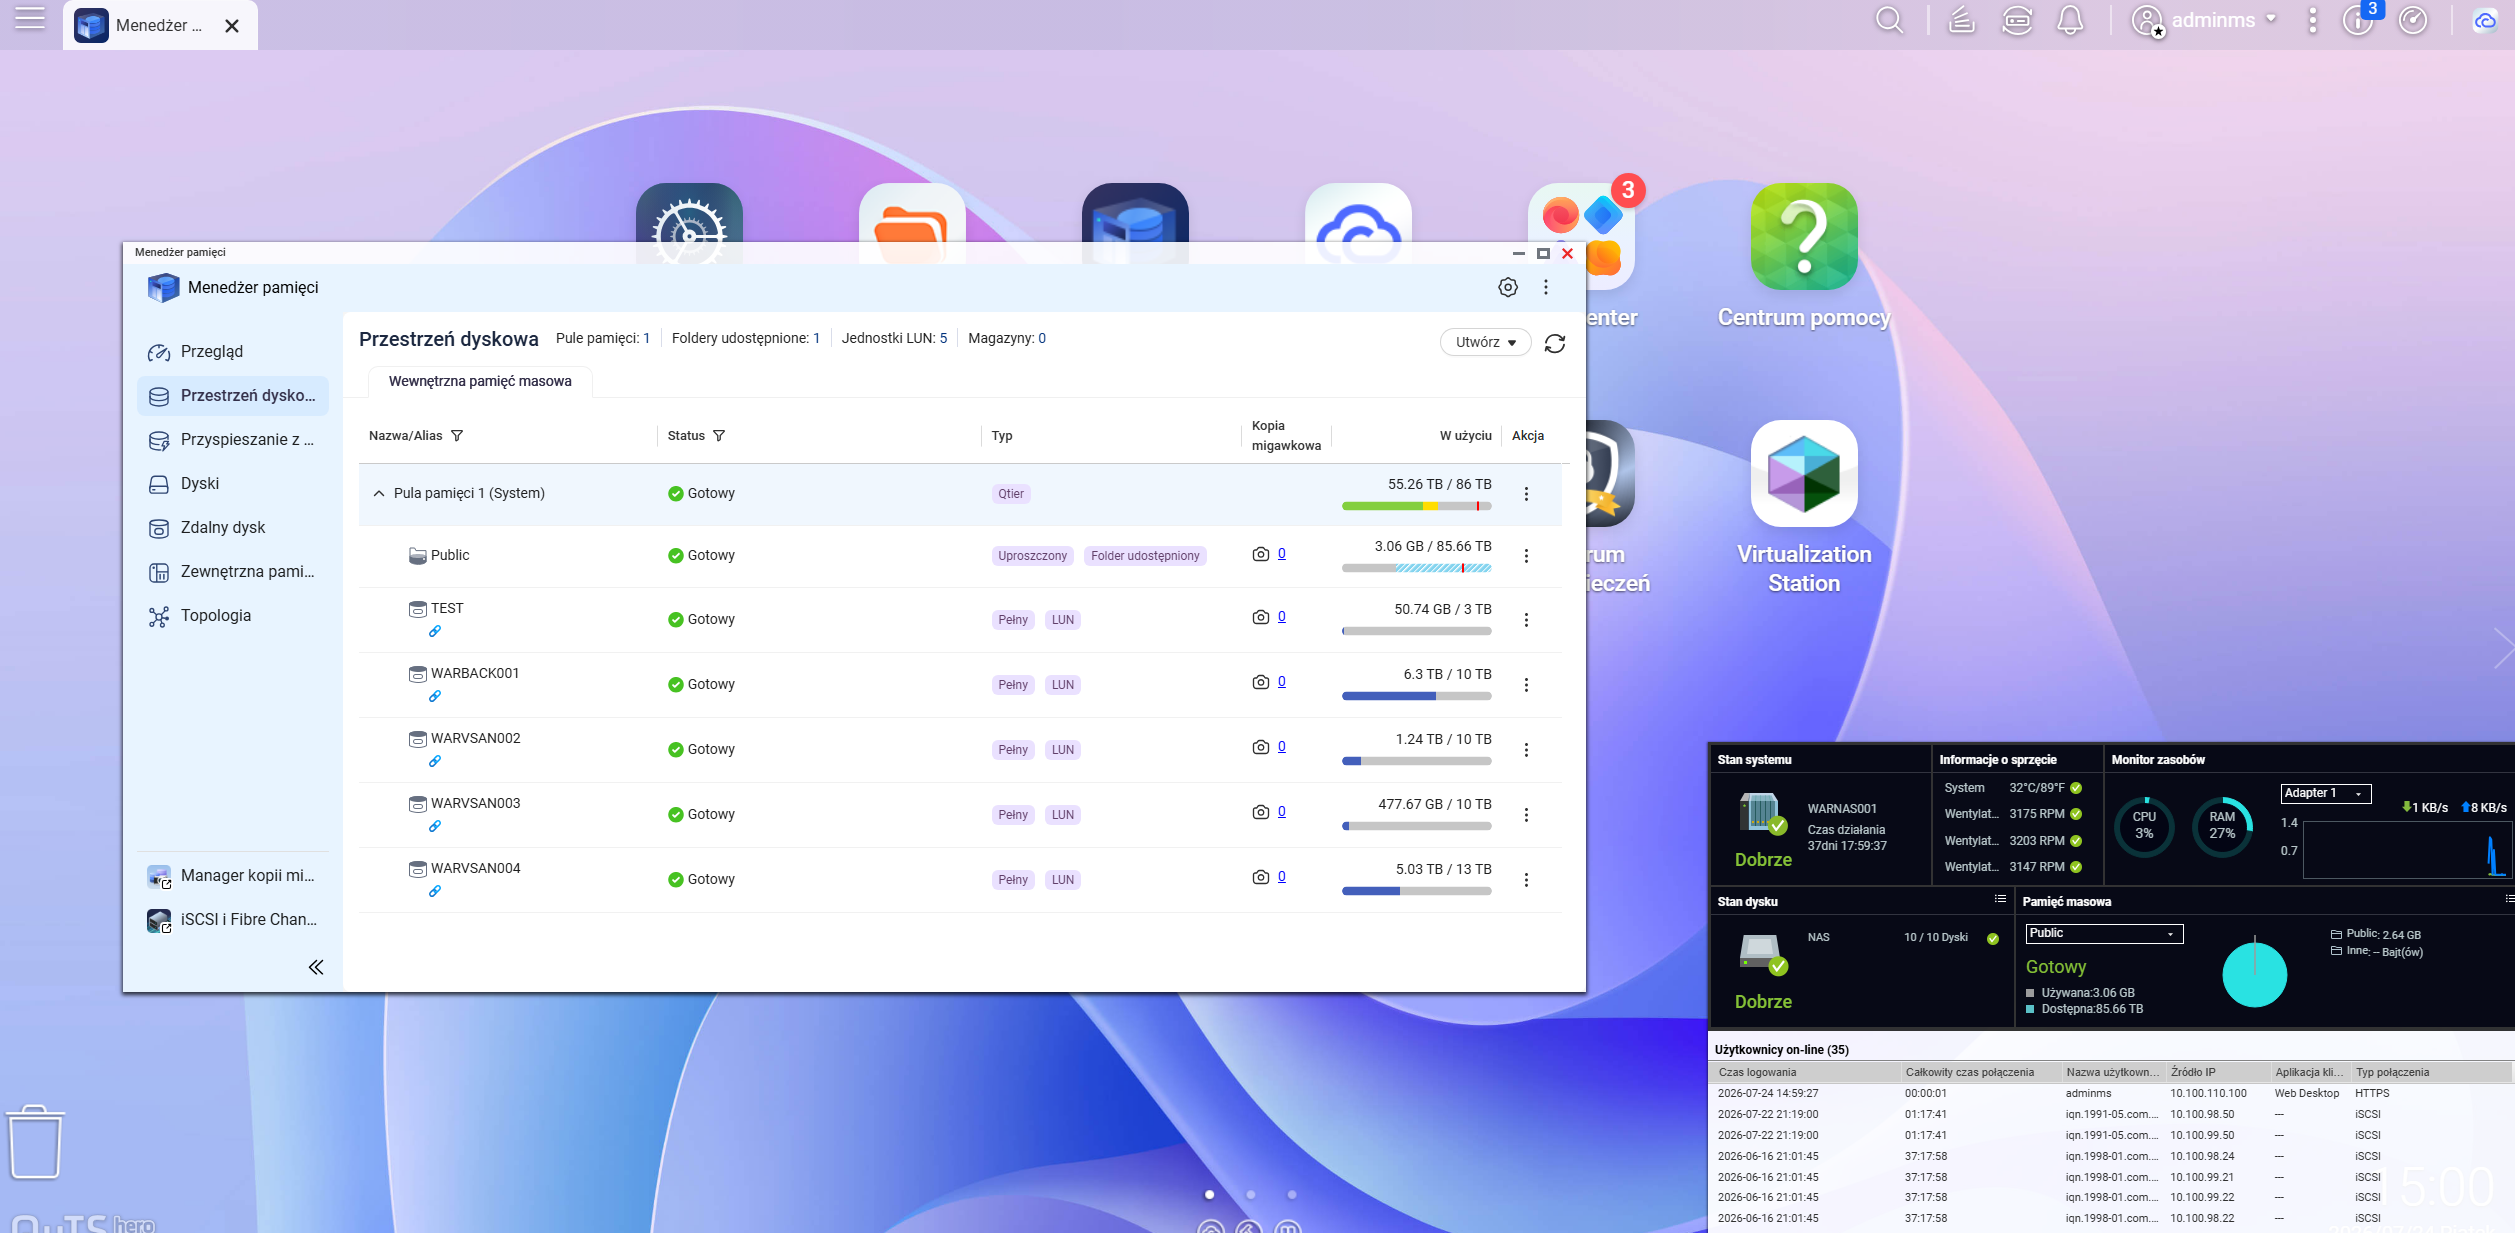
I currently have four 10TB datastores presented to the cluster via iSCSI. These are dedicated exclusively to virtual machines that demand high capacity but don’t require the extreme low-latency performance of my all-flash vSAN—such as my primary file servers, WSUS repositories, and CCTV NVR storage.
To bridge the NAS and the cluster, I installed an Intel X710 DA2 2x25GbE network card into the QNAP. However, I purposefully connected it using two ports directly to my 10GbE switch rather than my 25GbE fabric. Why? The NAS PCIe slot is limited to four lanes anyway, meaning a 25GbE link would be bottlenecked at the board level. More importantly, all of my homelab’s iSCSI traffic is handled entirely by the 10GbE switch. Passing that storage traffic through a trunk to the 25GbE switch would needlessly increase overhead and switch CPU load.
Virtualization Station: Hosting the Power Orchestrator
Having extra CPU and RAM overhead on the NAS allowed me to leverage QNAP’s Virtualization Station. I spun up a dedicated Debian VM directly on the storage array.
This VM operates entirely independently from the VMware cluster and hosts my Power Outage Orchestrator. By running it on the NAS, the orchestrator can safely monitor UPS states and gracefully shut down the massive vSphere hosts during a power failure without being dependent on the ESXi cluster it’s trying to protect. You can read the full technical breakdown of that automation in my previous article: The Ultimate Homelab Power Outage Orchestrator: Complete Automation with NUT, PowerShell, and vSphere.
Upgrading to the TS-855eU required a larger footprint and a heavier investment, but it eliminated every bottleneck in my secondary storage tier. If you are building a VMware homelab and want to actually utilize your 10GbE infrastructure, do not skimp on the NAS CPU or the PCIe lane topography.