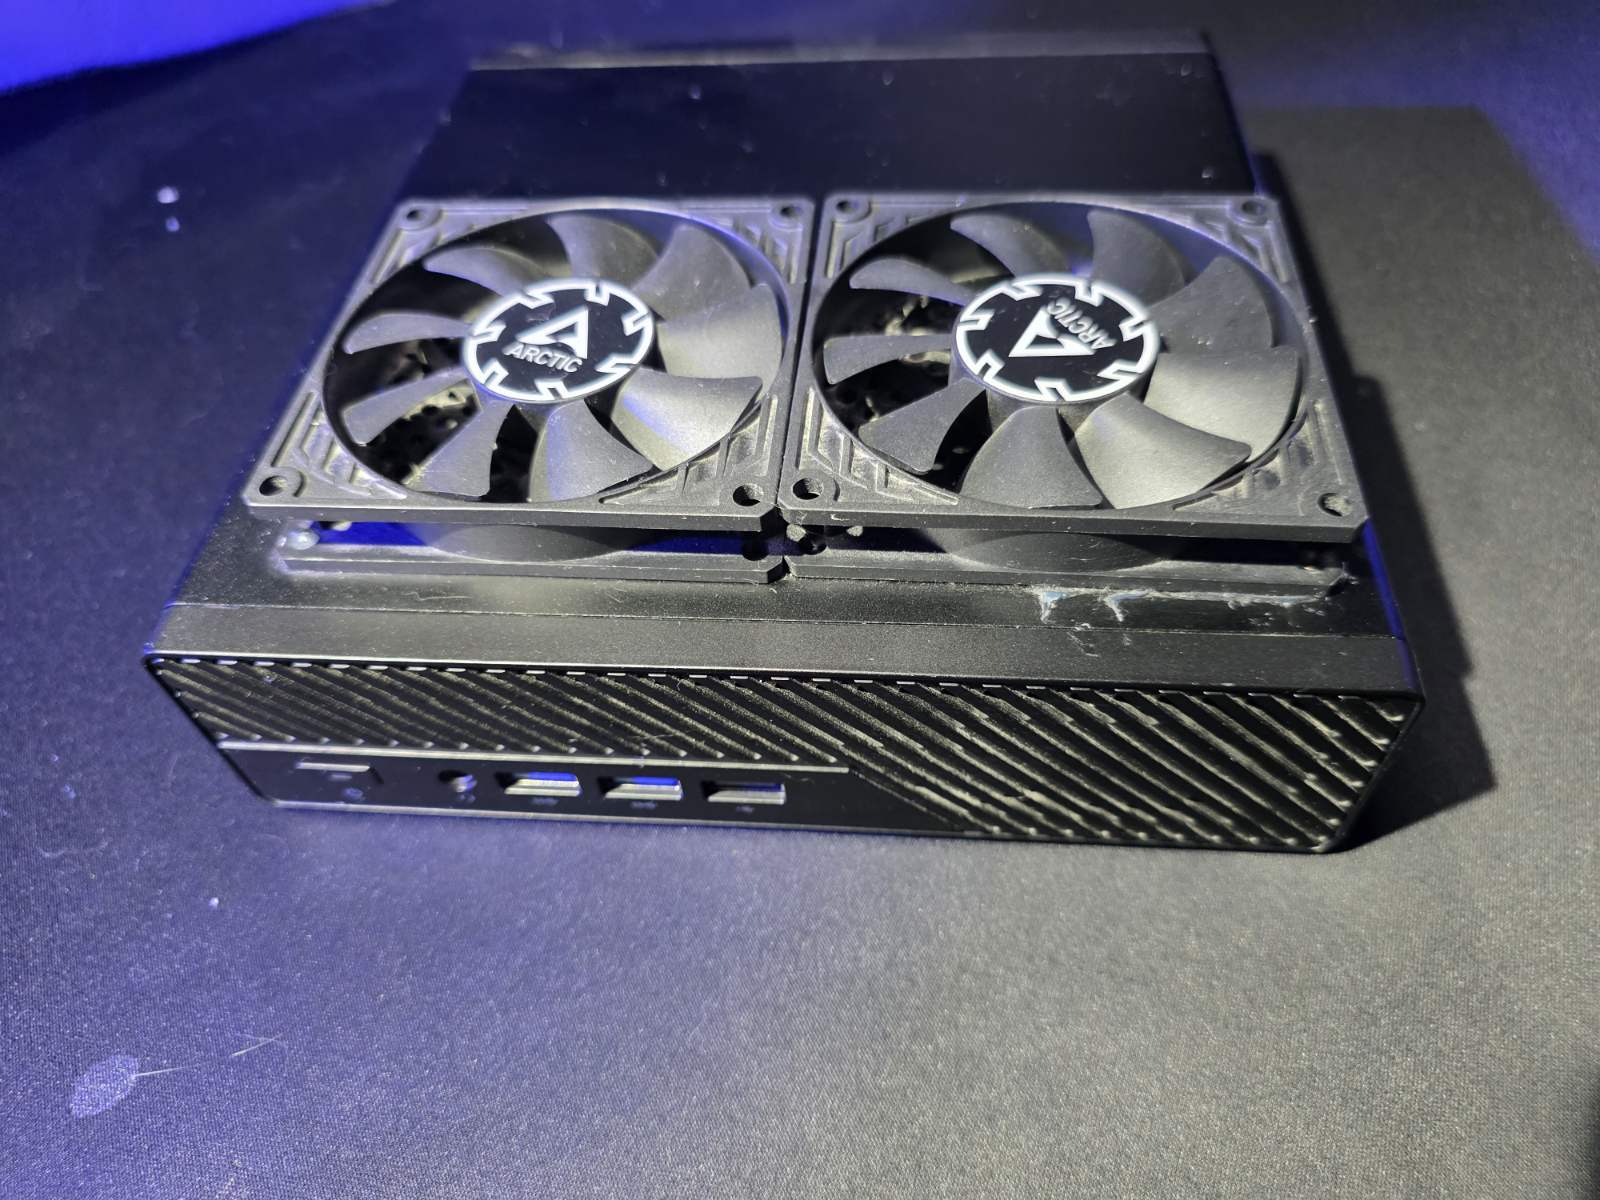
When building a home data center, the eternal struggle is balancing raw computing power with physical space, power consumption, and thermal output. After migrating my infrastructure to a robust 25GbE fabric, I needed compute nodes that could keep up with the network without turning my rack into a jet engine.
The solution? A 4-node VMware cluster built entirely on the Minisforum MS-A2.
While I have already discussed the software, stability, and VMware advantages of this specific setup in my previous article, From PSOD Nightmare to 25GbE Glory, this post focuses strictly on the physical architecture, networking layout, and overcoming a massive thermal challenge.
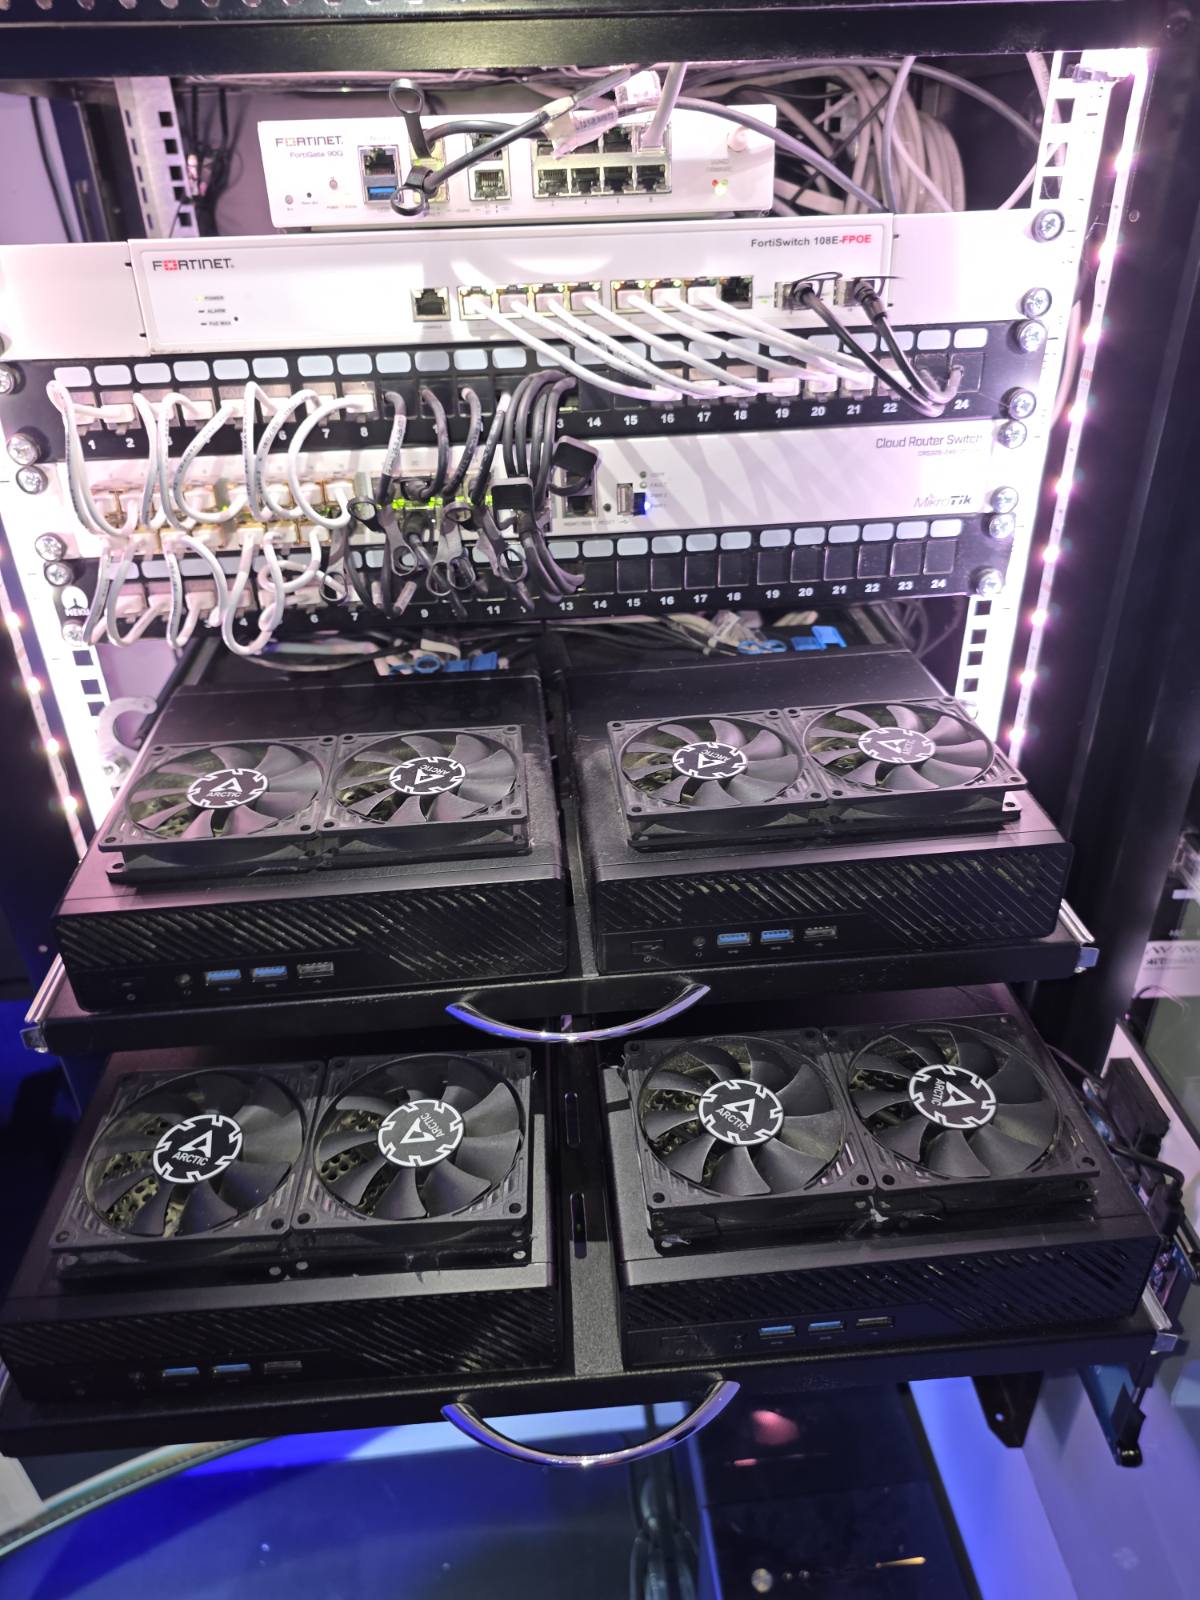
The Ultimate 1-Liter Homelab Node
In my opinion, the Minisforum MS-A2 is currently the most powerful 1-liter mini PC you can deploy in a homelab. While heavier hitters like the Minisforum MS-02 Ultra exist (boasting up to 256GB of RAM), they sacrifice the true micro-form-factor charm. The MS-02 Ultra is significantly larger and consumes much more power, defeating the purpose of a highly efficient micro-cluster.
Each of my four MS-A2 nodes is identically spec’d to act as an overpowered VMware ESXi host:
-
-
-
CPU: 16 Cores / 32 Threads
-
RAM: 128GB
-
Storage (vSAN ESA): 2TB Lexar NM790 NVMe
-
-
Packing Enterprise Networking into a Micro PC
What truly sets the MS-A2 apart is its native, physical PCIe slot, completely eliminating the need for fragile M.2-to-PCIe adapters. This allowed me to cram an astonishing amount of networking throughput into a box the size of a hard drive.
Here is the port layout for each node:
-
-
2x 10GbE (Intel X710): Dedicated to iSCSI storage traffic.
-
2x 2.5GbE: Left entirely unused.
-
4x 25GbE (Intel E810-XXVDA4): Added via the PCIe slot to handle the heavy lifting.
-
The 4x 25GbE card is split logically to handle the cluster’s core functions:
-
-
Port 1: 25GbE vSAN
-
Port 2: 25GbE vSAN
-
Port 3: 25GbE vMotion
-
Port 4: 25GbE Network / User VLANs
-
The Thermal Problem
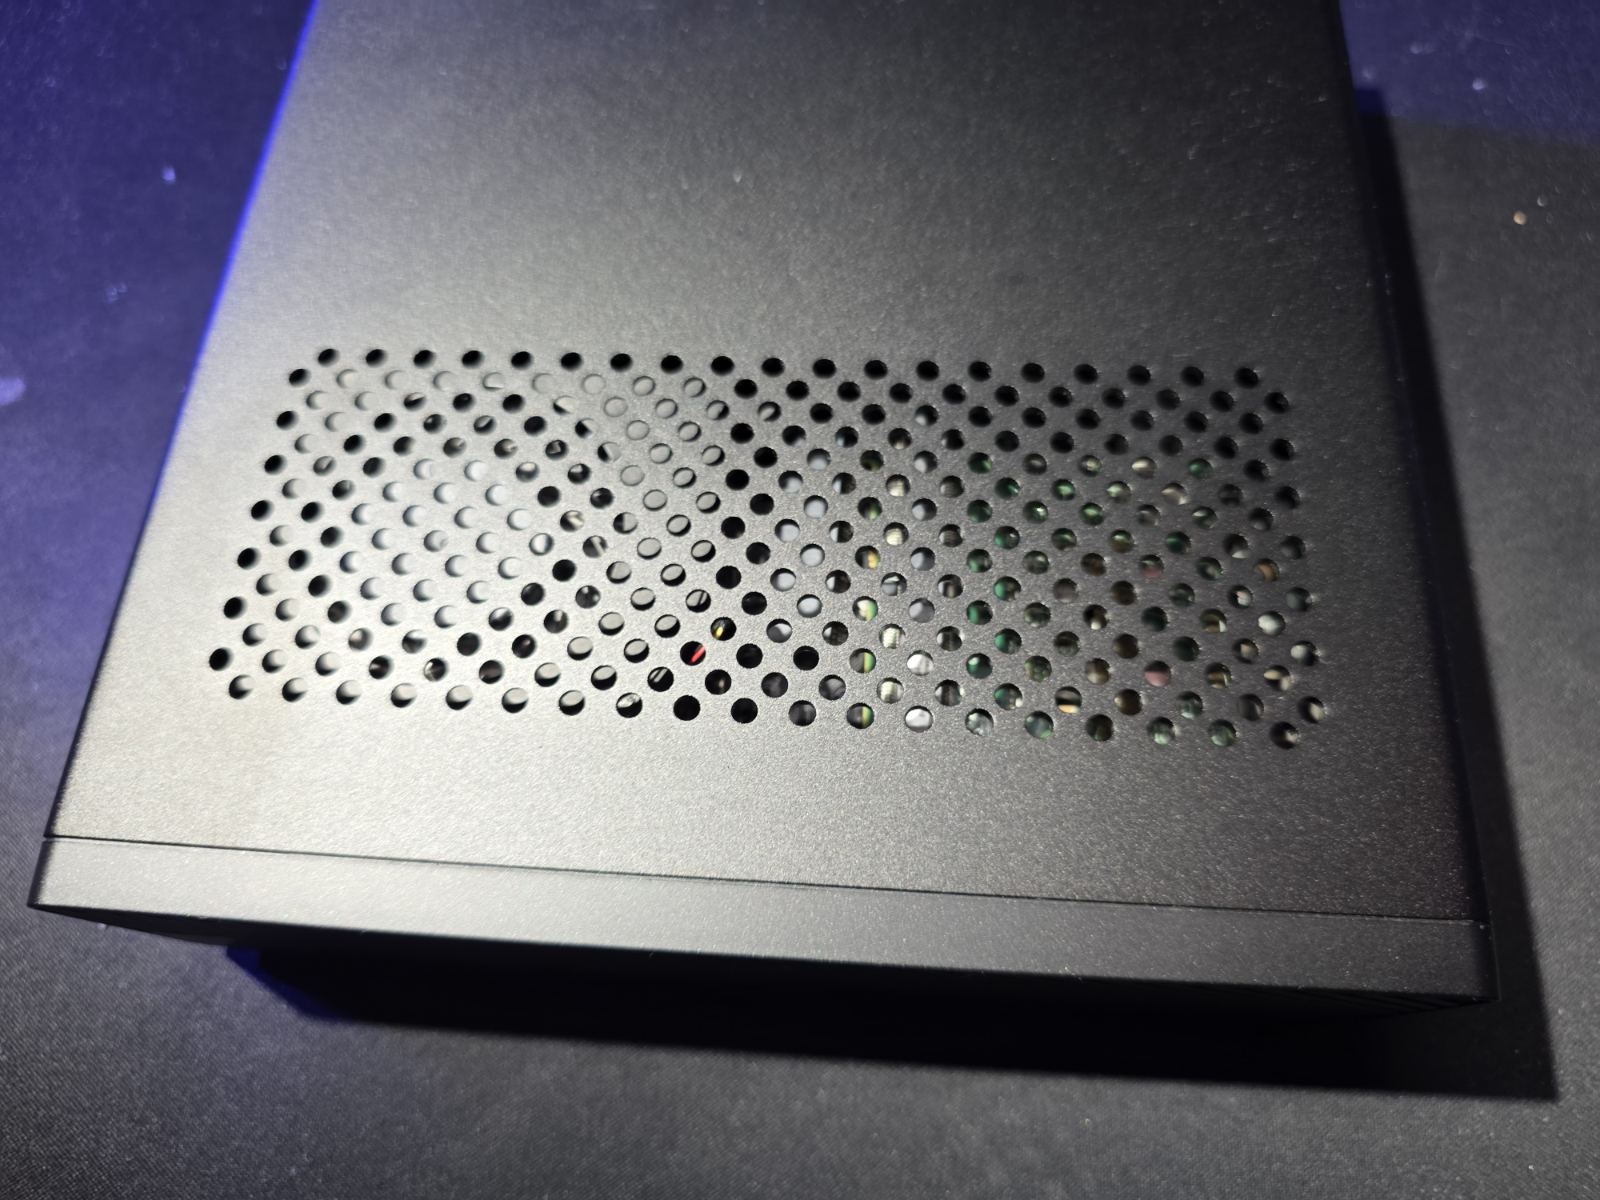
Adding an enterprise-grade Intel E810-XXVDA4 NIC into a 1-liter chassis unlocks gigantic scalability for the cluster, but it introduces a severe problem: heat. These cards are designed for rackmount servers with jet-engine airflow, not tiny desktop enclosures.
This instantly reminded me of a previous project where I had to actively cool a micro-server. As documented in my Lenovo ThinkCentre M920x Custom Cooling Mod, I ended up drilling a massive hole straight through the metal chassis.
This time, I wanted a cleaner, non-destructive approach. I didn’t want to ruin the beautiful MS-A2 casing. Fortunately, I noticed that the existing ventilation grills on the top of the case are perfectly sized to fit two 80mm fans side-by-side.
The Non-Destructive Cooling Mod: Step-by-Step
To pull this off, I gathered a few specific components to build a custom, internally powered cooling loop.
Materials Used:
-
-
2x Arctic P8 Slim PWM PST (80mm fans)
-
1x Noctua Low-Noise Adapter
-
1x Noctua PWM Splitter & Extension Cable
-
1x Micro JST connector
-
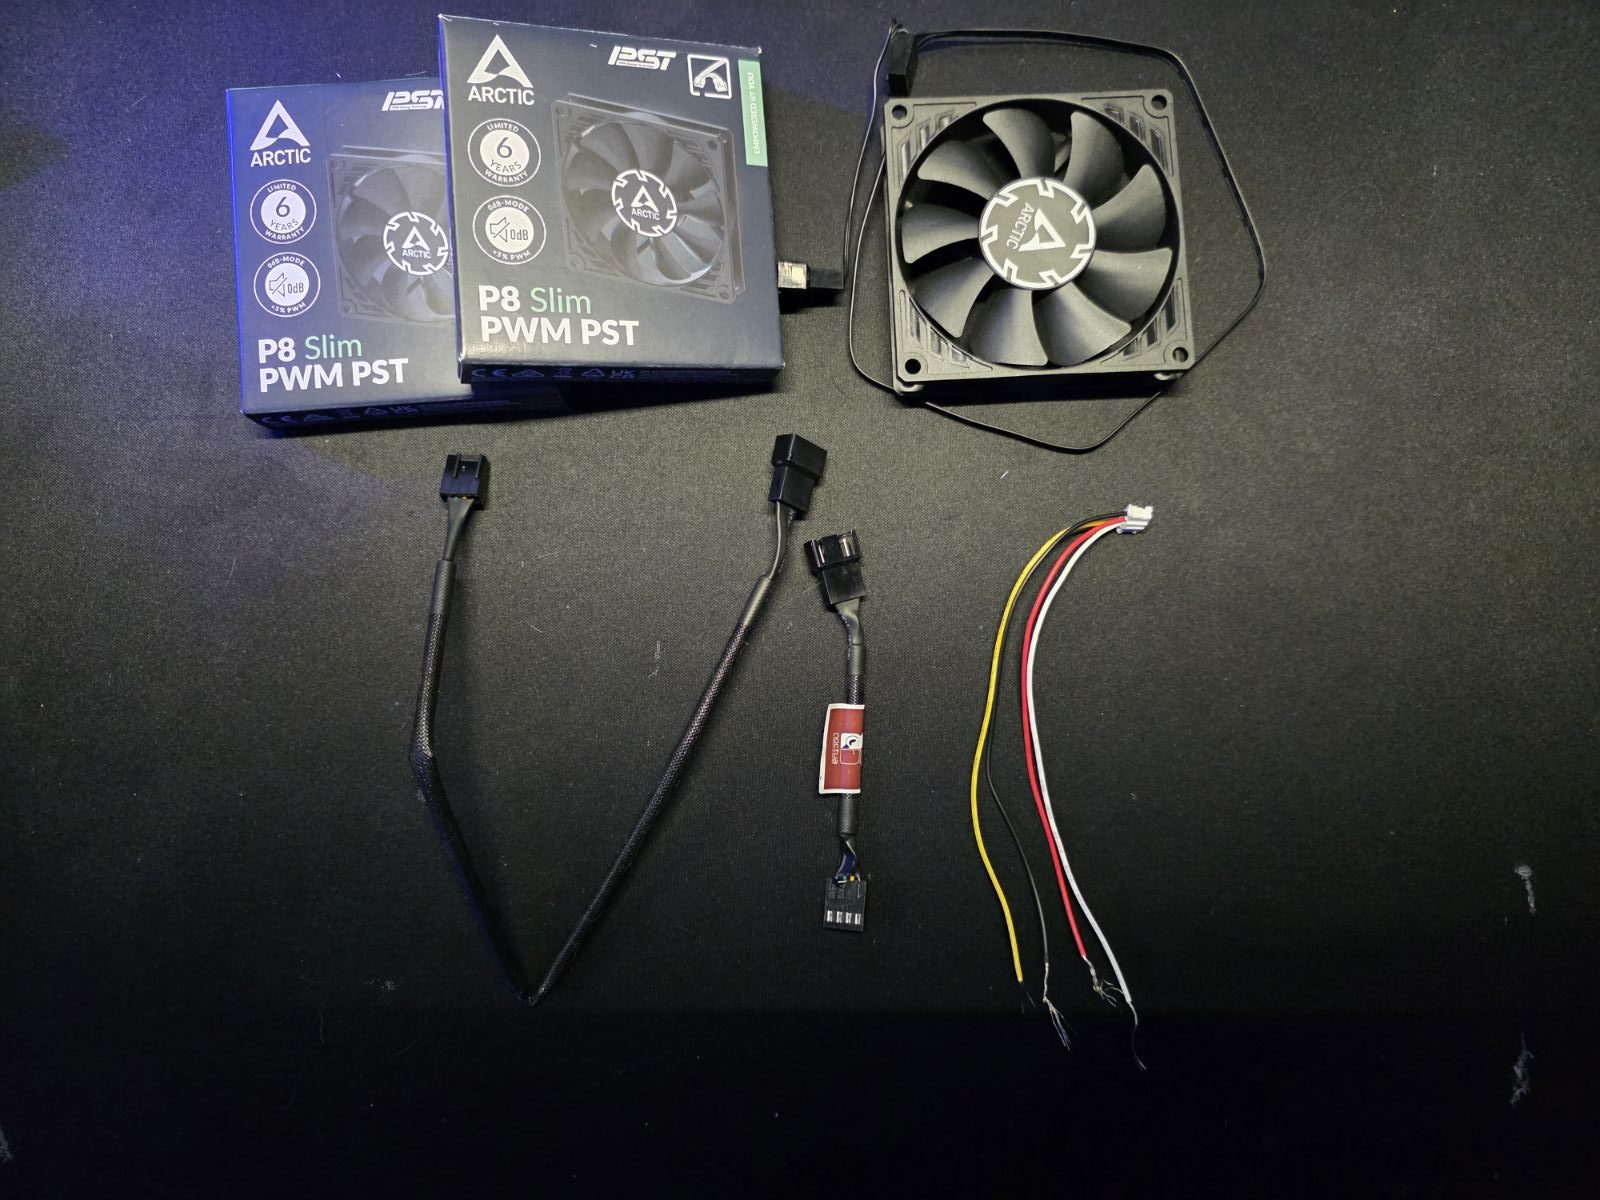
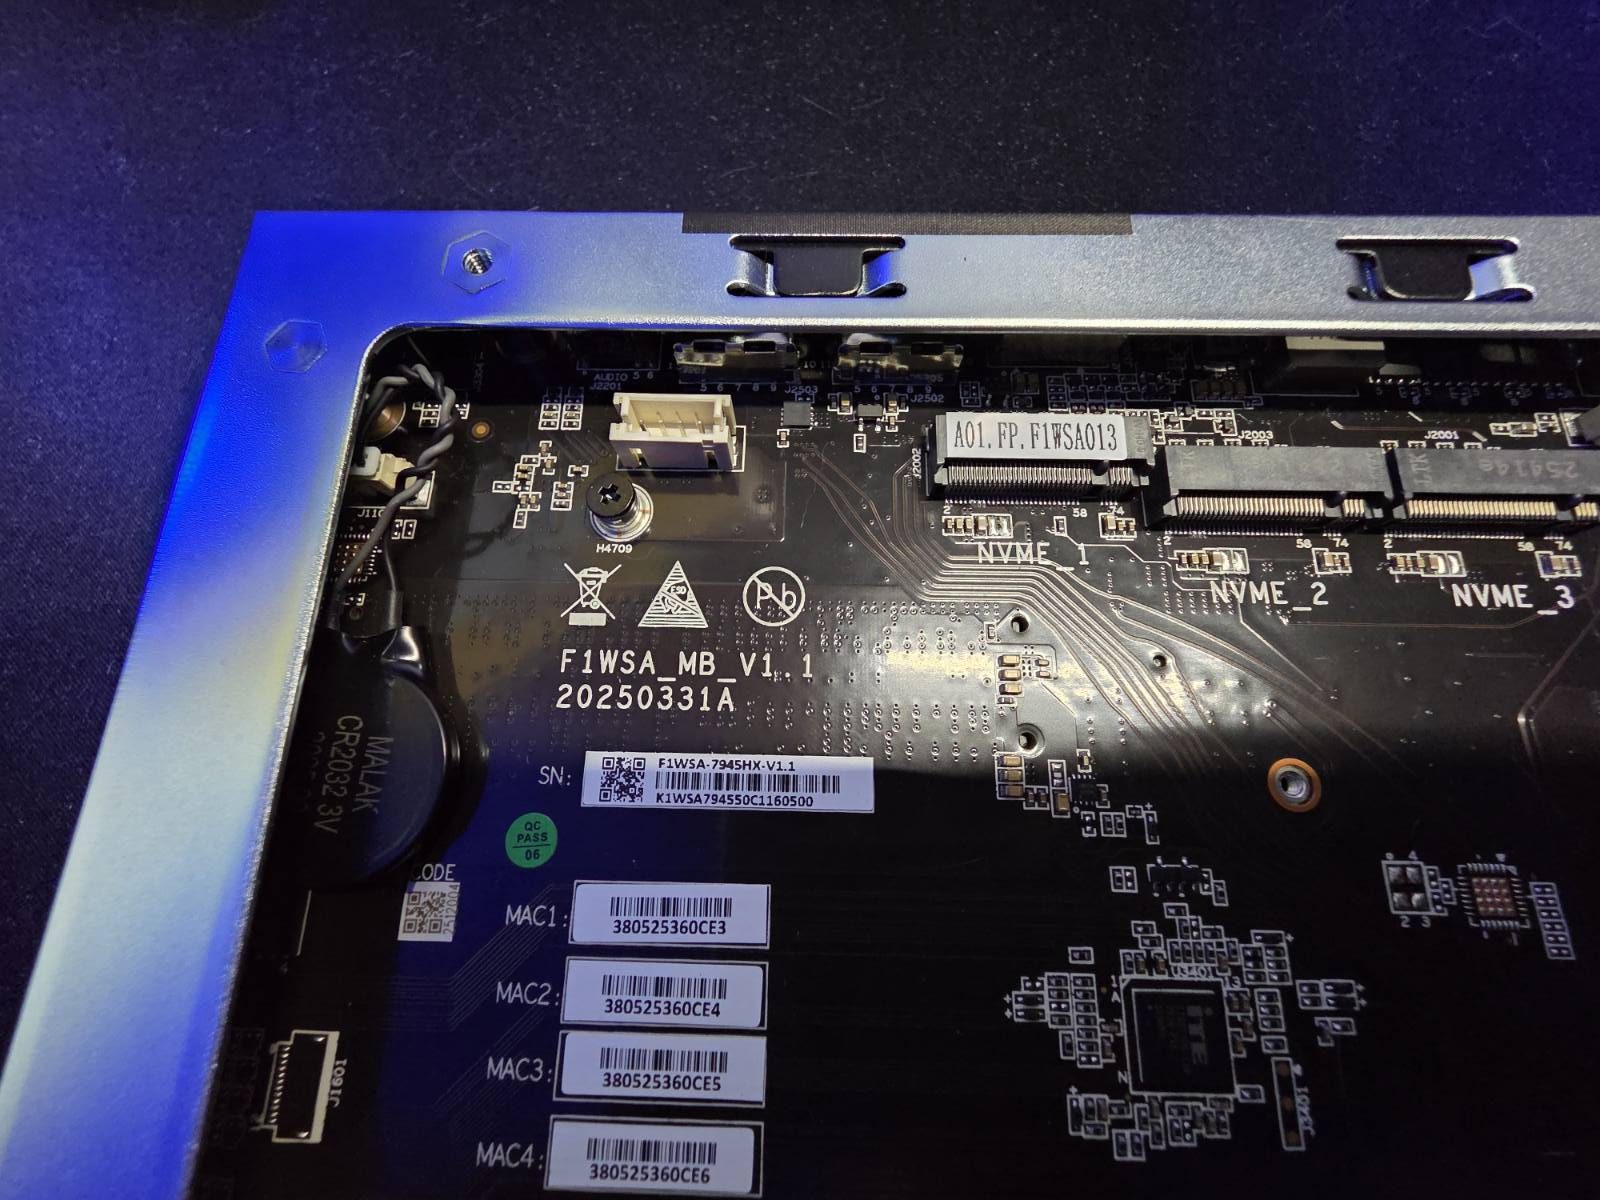
The first challenge was sourcing power directly from the motherboard without using bulky external USB adapters. It turns out, a standard Micro JST connector perfectly fits the internal disk power socket on the MS-A2’s motherboard.
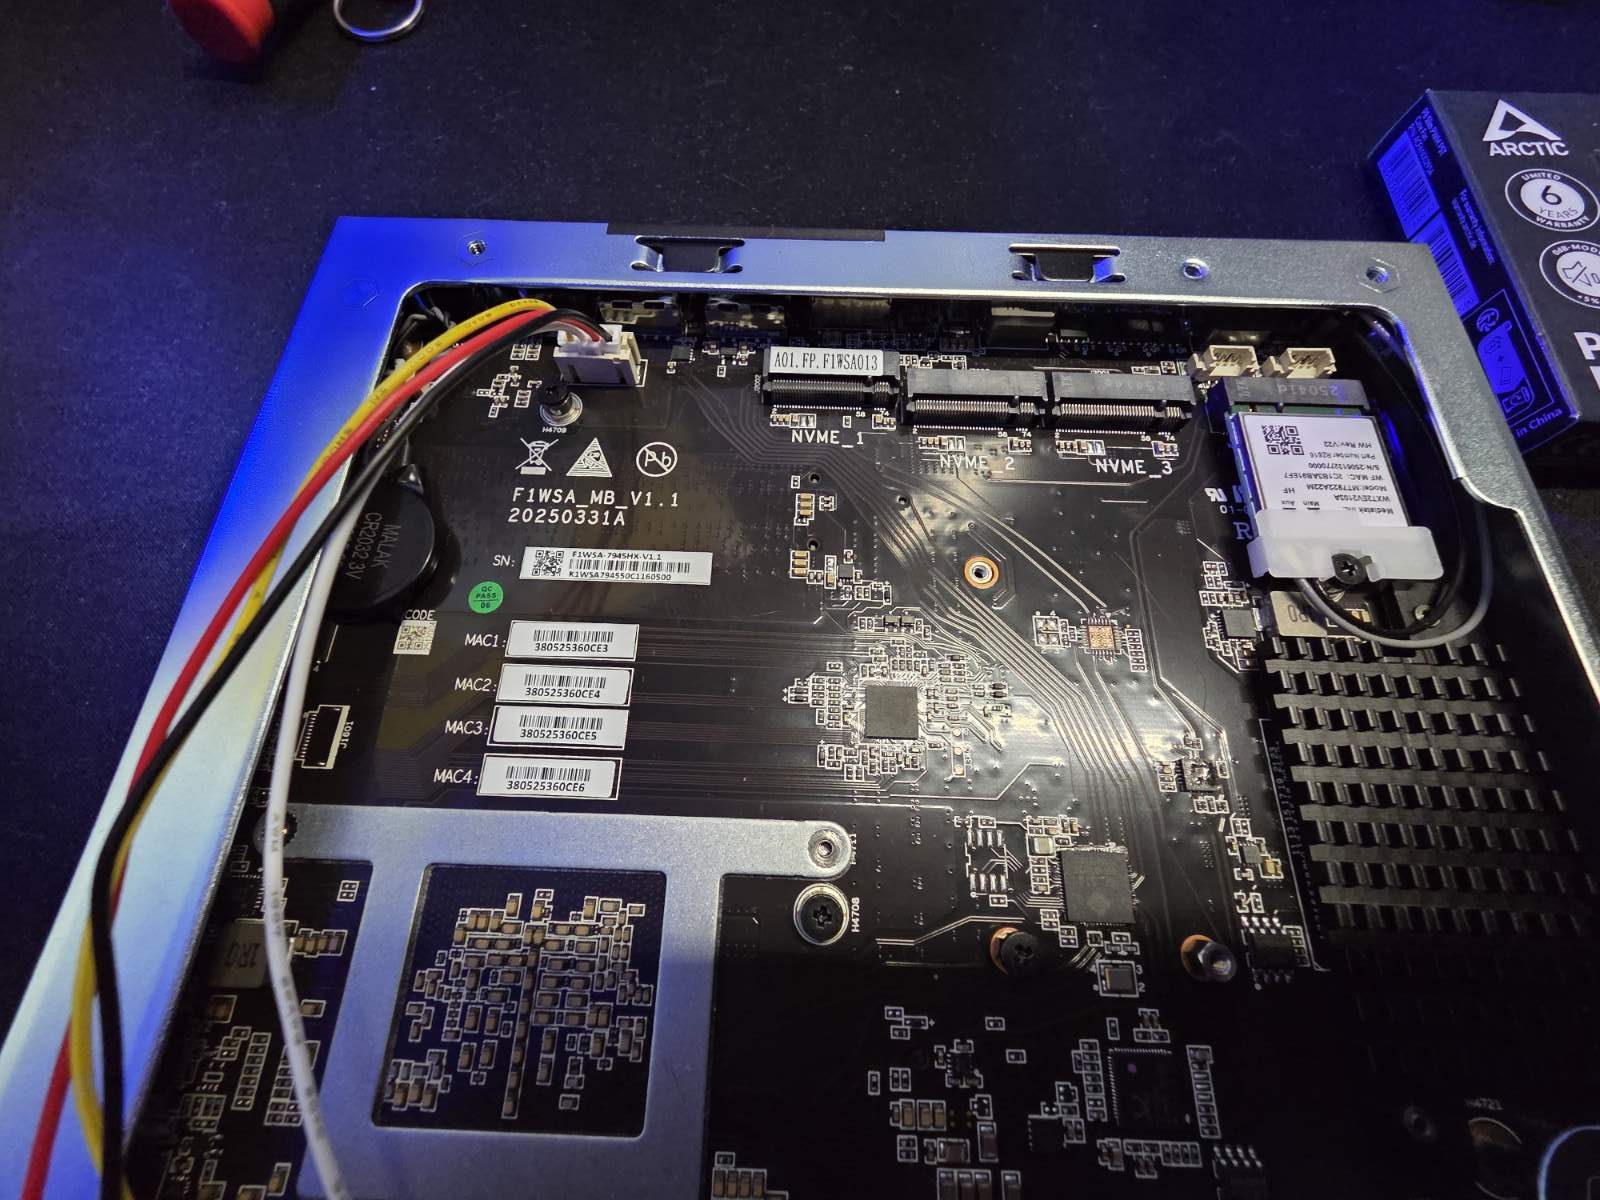
With power secured, I needed to route the cabling cleanly. The Micro JST plug and its wiring can be easily routed underneath the motherboard, keeping the top side clutter-free and ensuring the E810 NIC has as much physical clearance as possible.
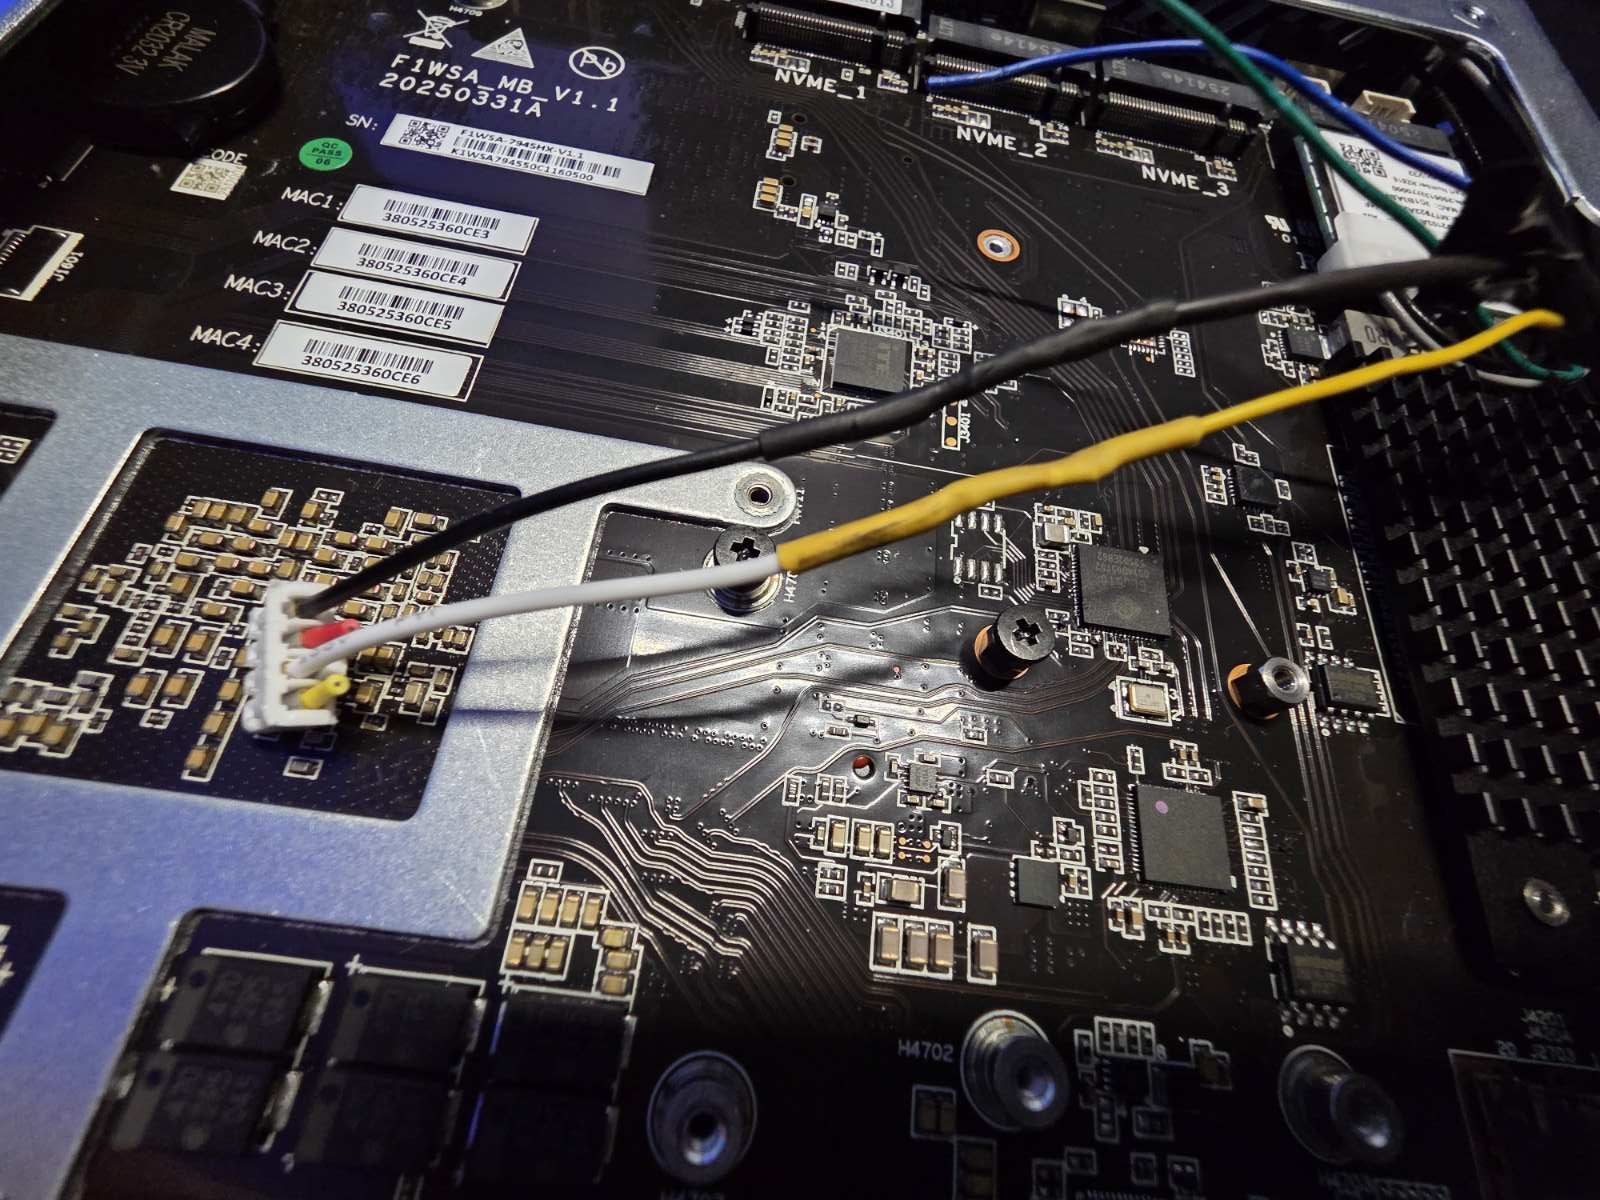
Next came the most critical part: soldering the power wires to a standard fan header. I took the Noctua PST extension cable, cut it, and soldered it directly to the Micro JST wires. It is crucial to match the correct pins here. In my case, I connected the middle cables of the JST plug (yellow and black) to their corresponding power and ground wires on the PST extension.
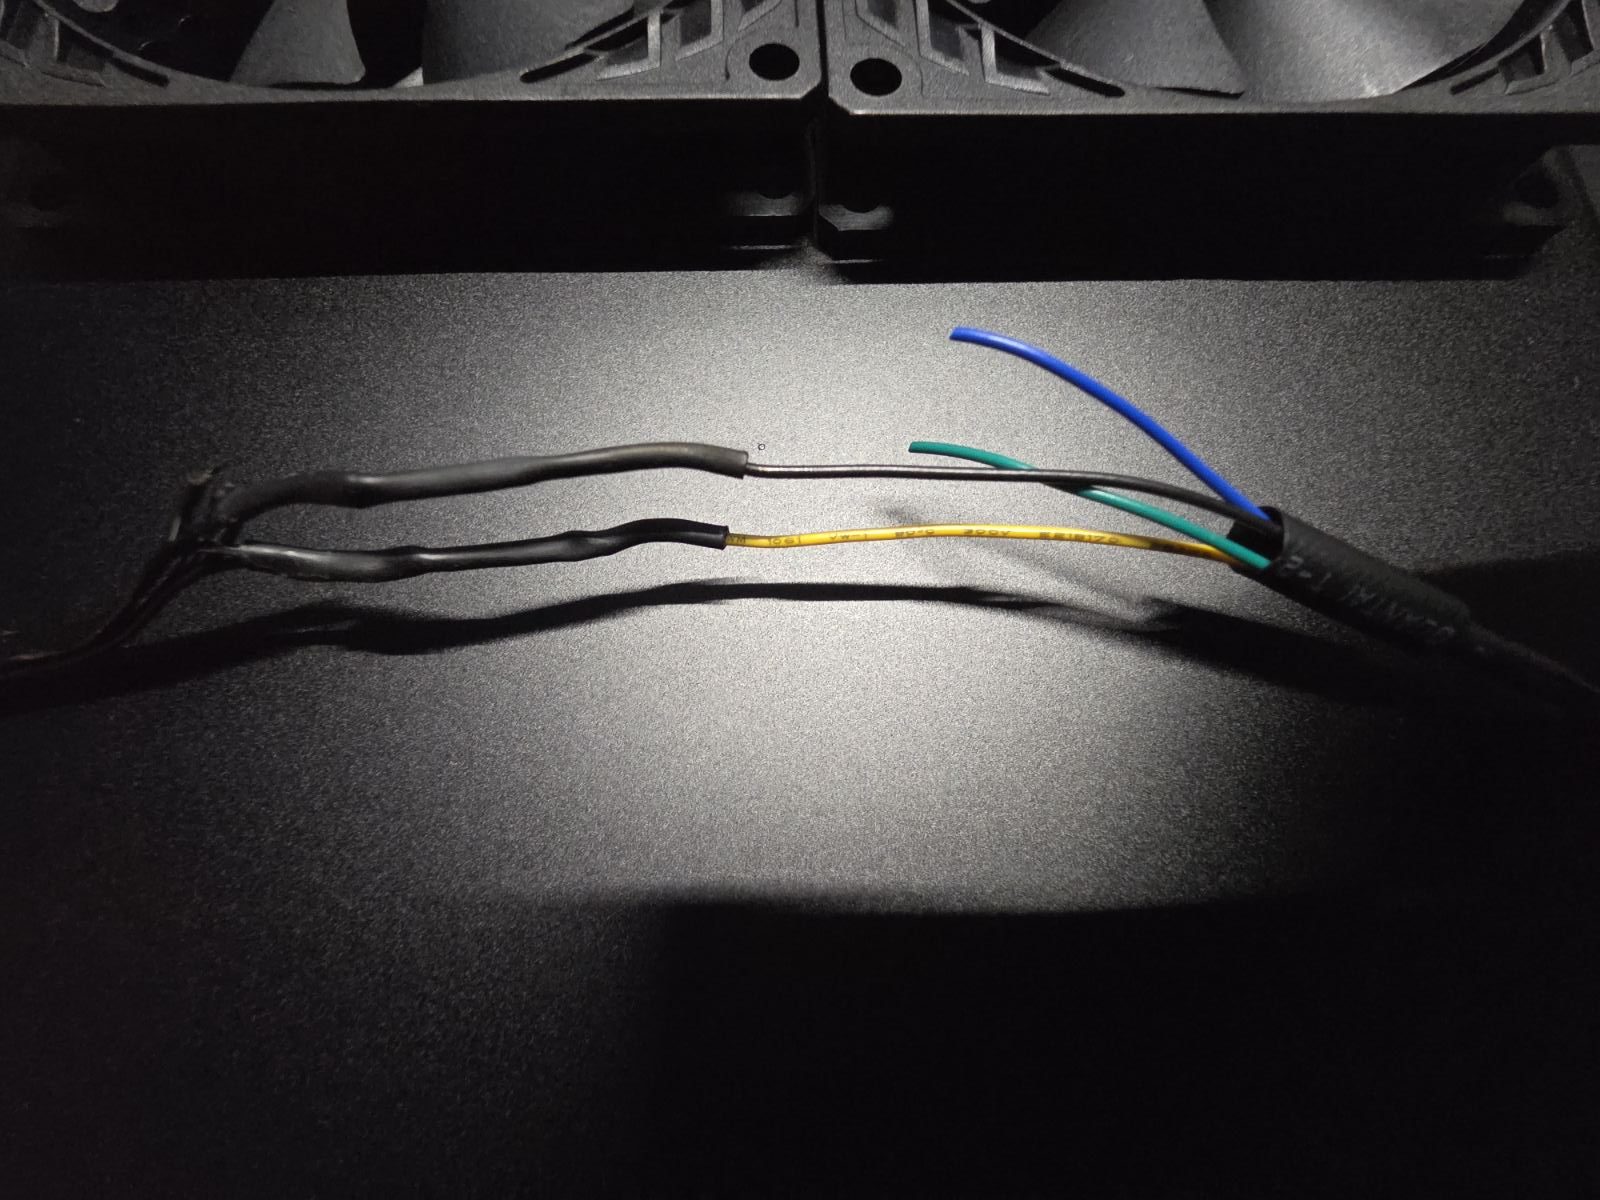
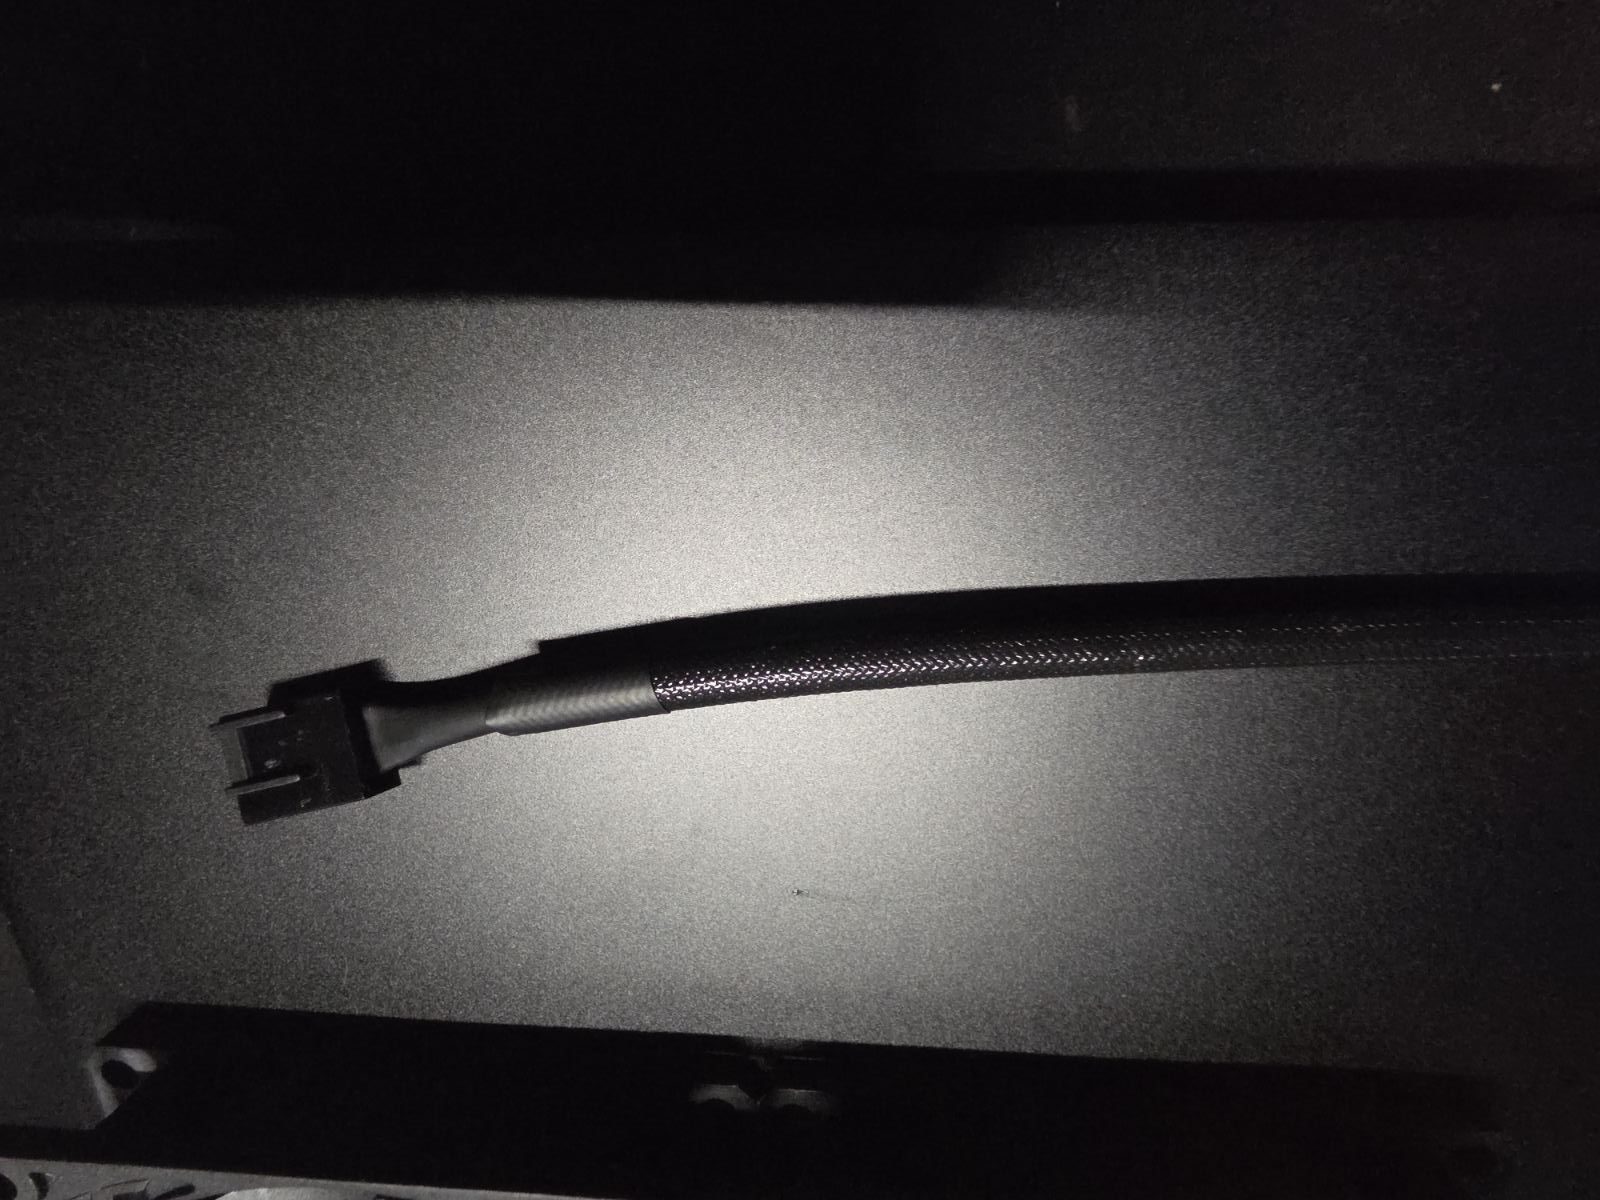
With the internal wiring ready, the next step was securing the fans. I used a strong adhesive to mount the two Arctic P8 Slim fans directly over the existing top ventilation grills.
To keep the mod completely non-destructive, I didn’t drill a hole for the fan cables. Instead, I routed the wire through one of the existing hexagonal vent holes. This required cutting the fan’s power cable, threading it through the tiny gap, and re-soldering it on the inside of the case.
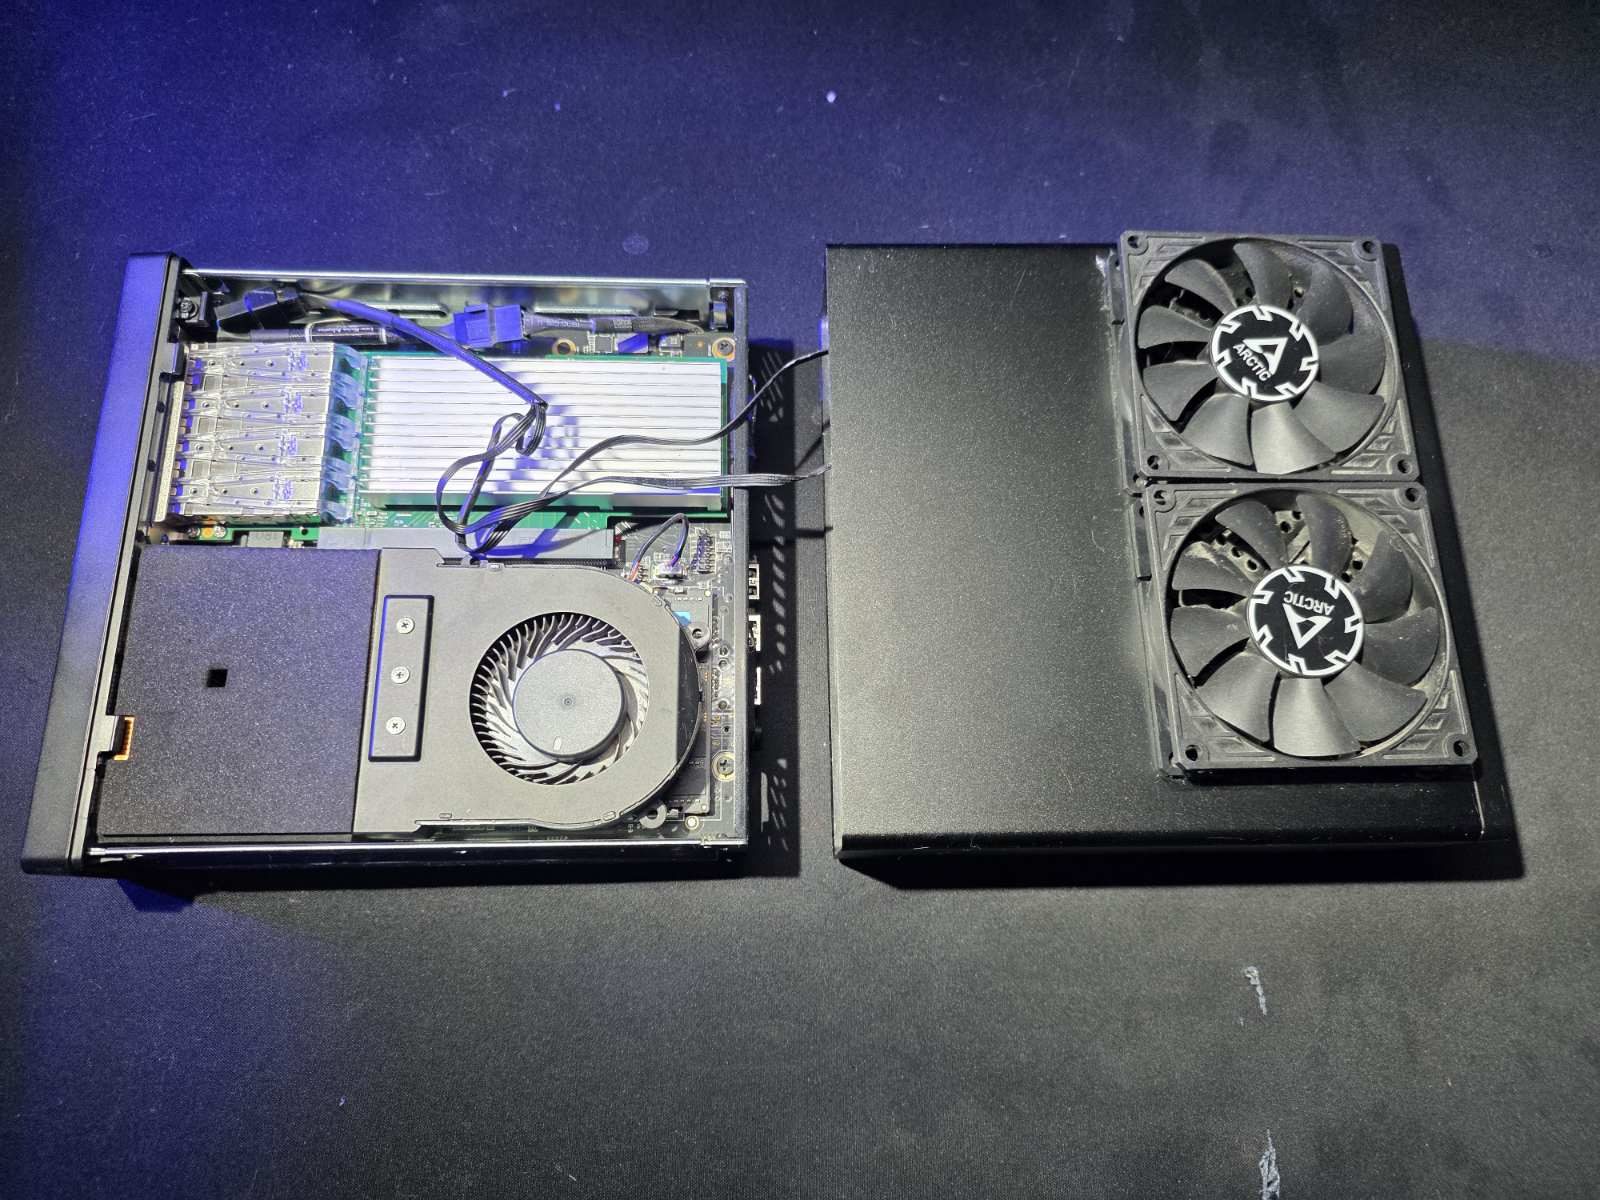
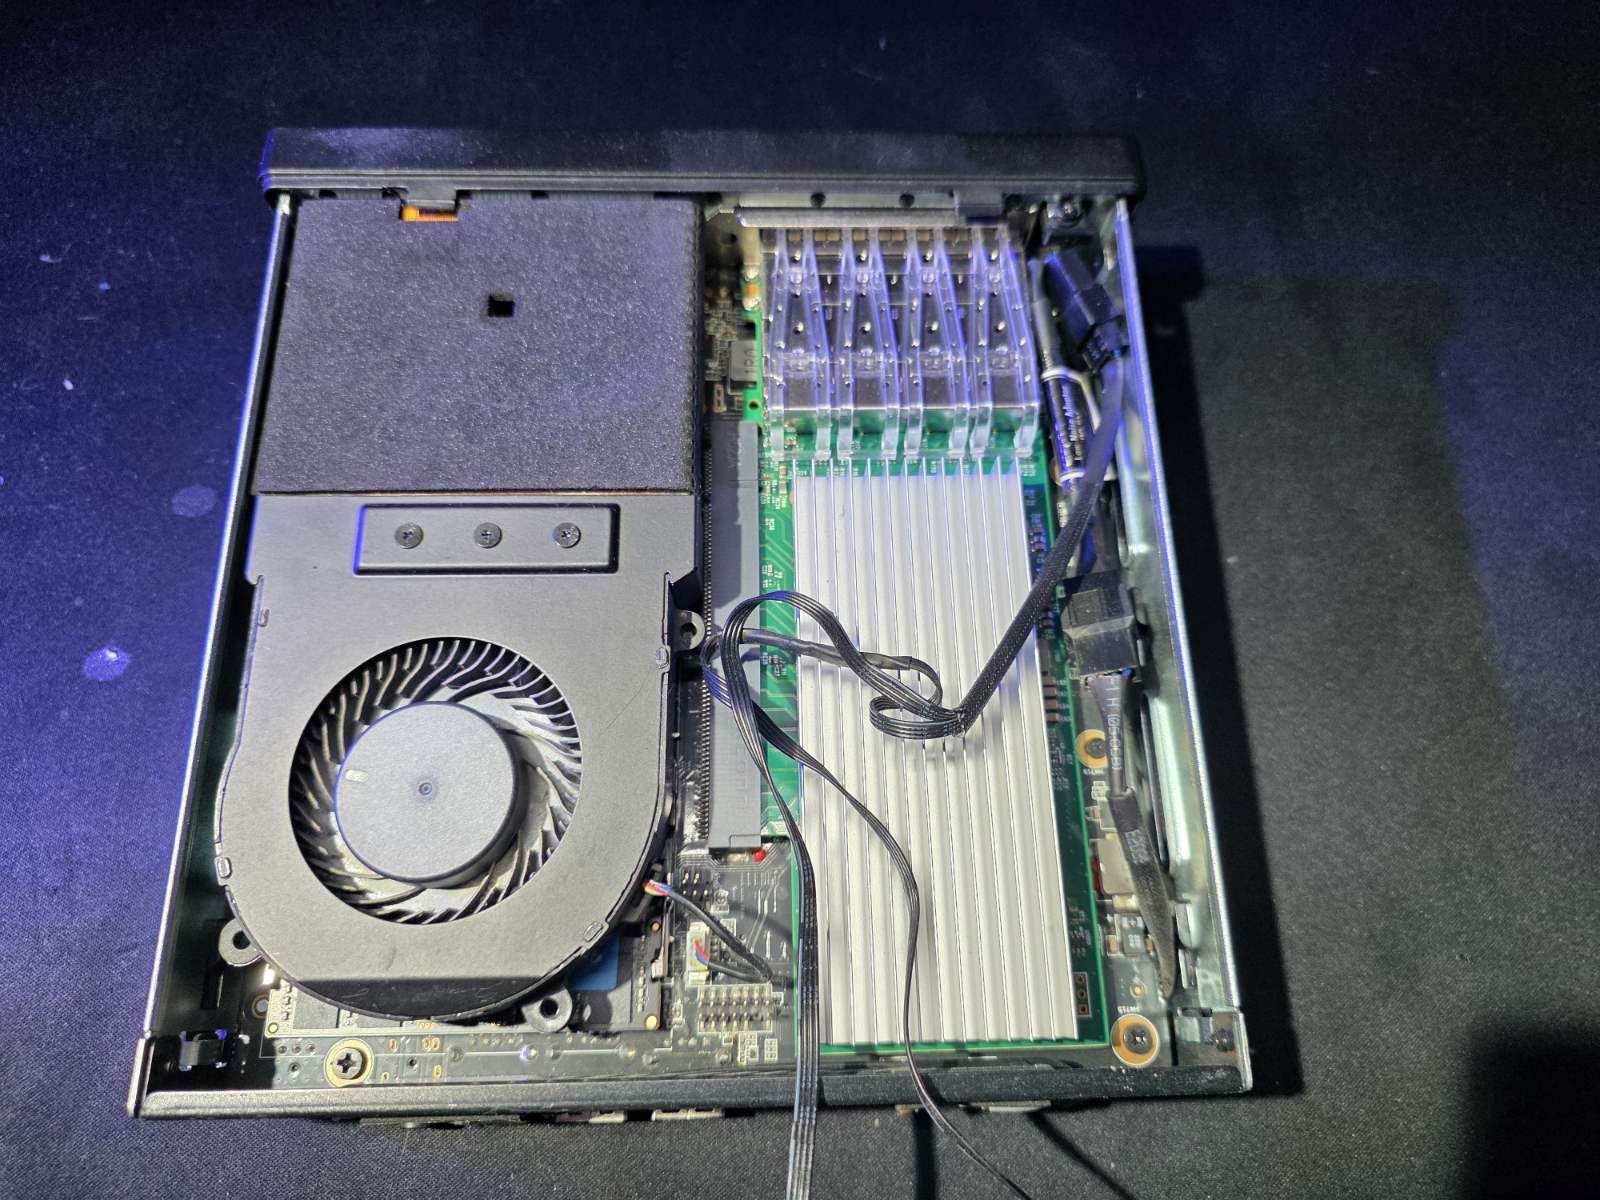
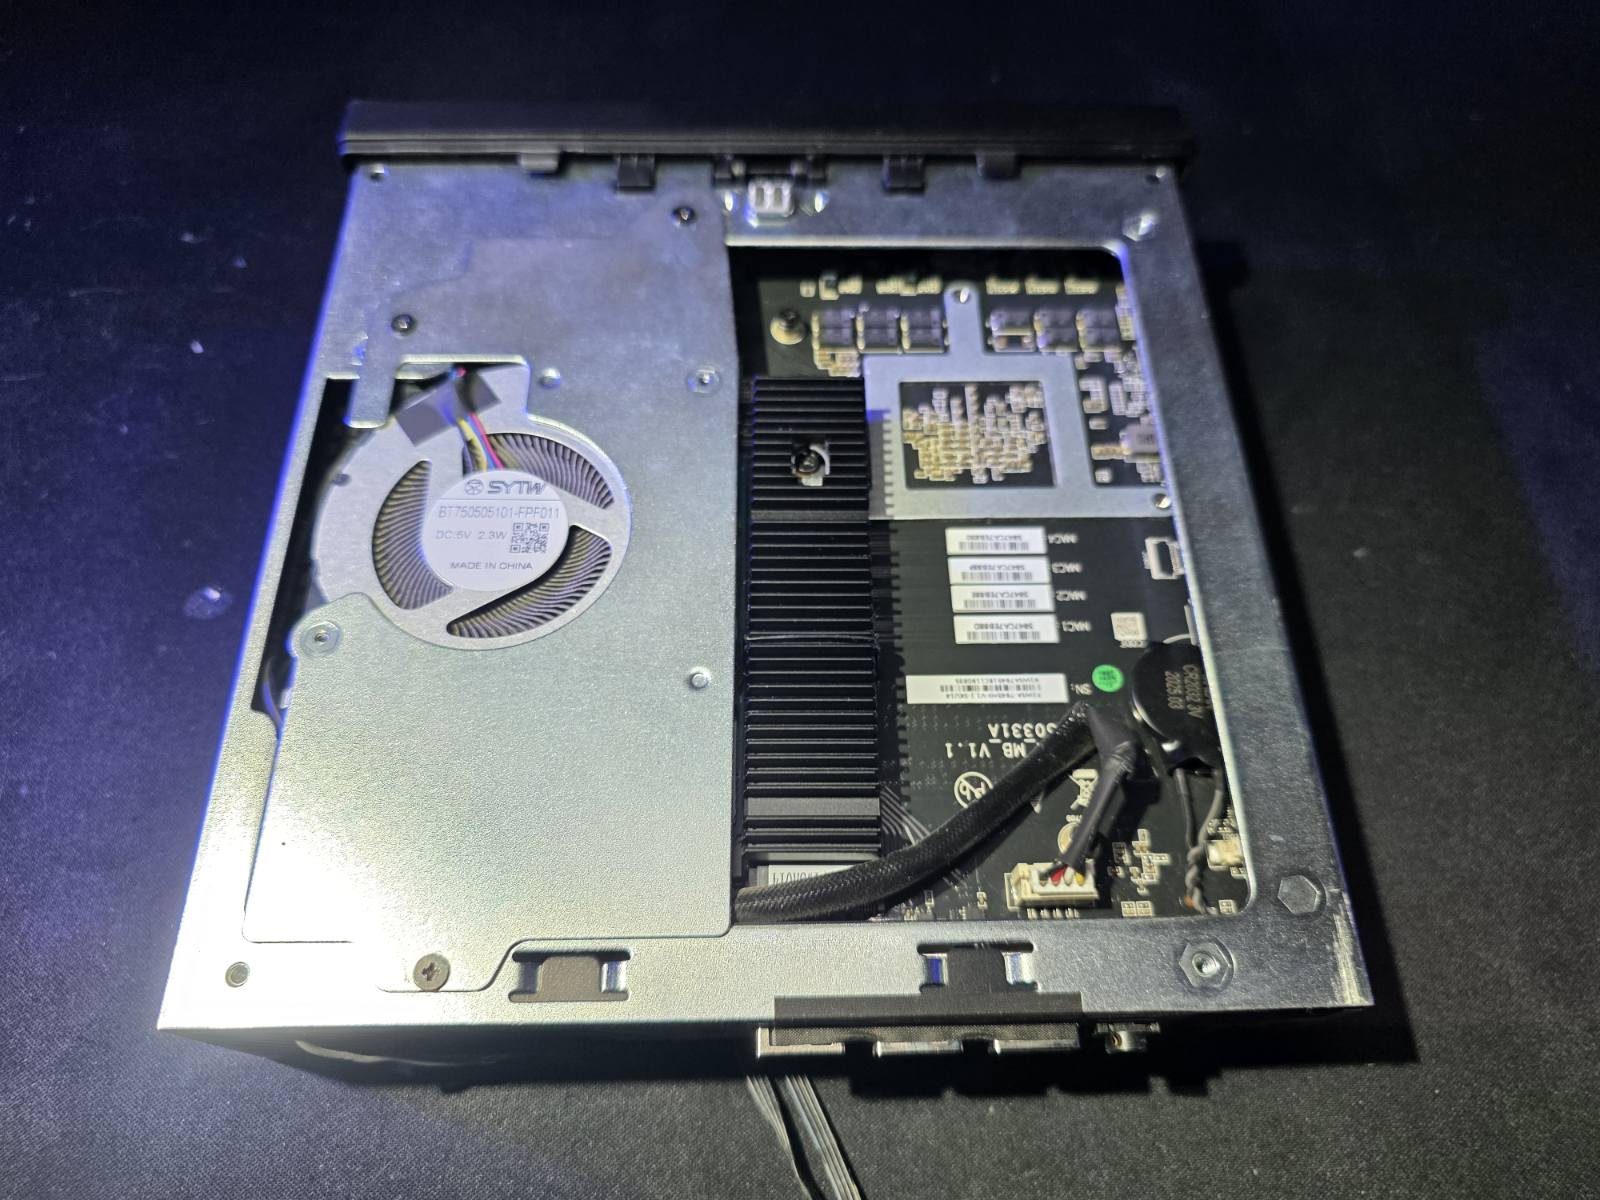
Minisforum MS-A2 The final internal connection bottom
The Final Result: Silence and Stability
As a final touch, I added the Noctua Low-Noise Adapter to the circuit. While not strictly necessary—if you don’t mind the hum, you can absolutely run these fans at 100%—acoustic comfort is a high priority for me. The Low-Noise adapter provides the absolute perfect compromise between pushing enough air to keep the massive 25GbE Intel NIC cool and maintaining a whisper-quiet homelab environment.
The final aesthetic is incredibly clean; it looks almost as if Minisforum designed the case with dual top-mounted fans from the factory. Most importantly, because I utilized the existing vent holes and an internal power header, the entire mod can be dismantled at any time without leaving a single scratch on the chassis. If a new, crazy homelab idea pops into my head in the future, these nodes can be restored to their factory state and resold in mint condition.